being sick

PA095177

I made a prototype for a necklace I’ve been thinking about for a while.

PA095157

Laser cut and engraved grey acrylic. I had to first polish the pieces a bit, and then just joined them with some wire. I think I’m going to test it tomorrow – so then I will see if the construction really works out. If everything hangs the ways it’s supposed to.

I think I might need to get proper jump rings at some point, but it doesn’t look too bad for now.

PA095167

PA095173


Posted in DIY, Life 09.10.2016
Tagged

Elna Supermatic

I have a new sewing machine.

Actually, I have an very old, but new-to-me sewing machine!

Maybe a bit of background information: I have always wanted to get an old sewing machine with those fun little stitch cams. And I always wanted to have/try a sewing machine that uses a knee lever instead of a foot pedal. And I love mint green (not that this would come as much of a surprise to anyone …)

elna-manual

After a few months of randomly looking at vintage sewing machines, I happend to find this old, mint green Elna supermatic on the Internet. It was quite cheap, it was in good condition and came with a lot of accessoires. So I had to find a way to get it.

The old thing was not a city dweller – it had spent it’s first life in a cozy village at the end of the world. I had to send some people I know (and their parents that live very close to the end of the world) on a quest to test-drive and eventually purchase it for me. But my plan worked out just like I had imagined*. It’s here now.

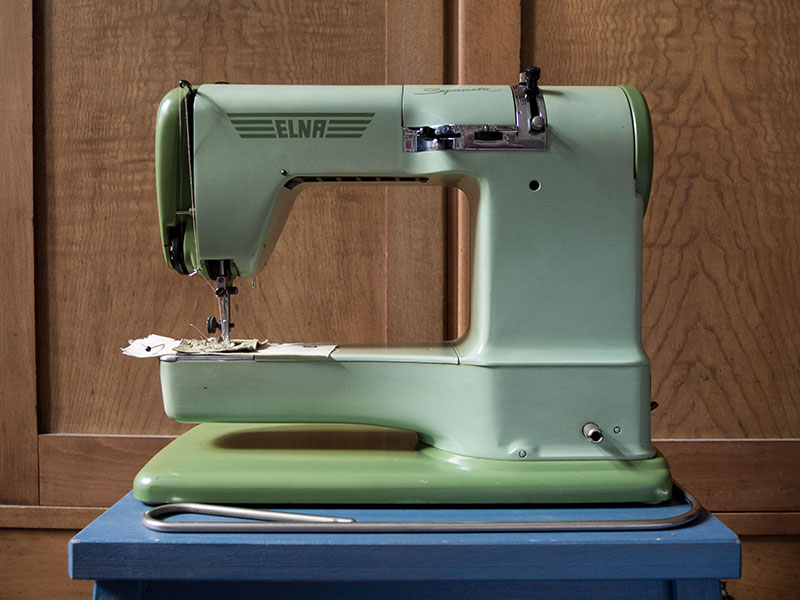
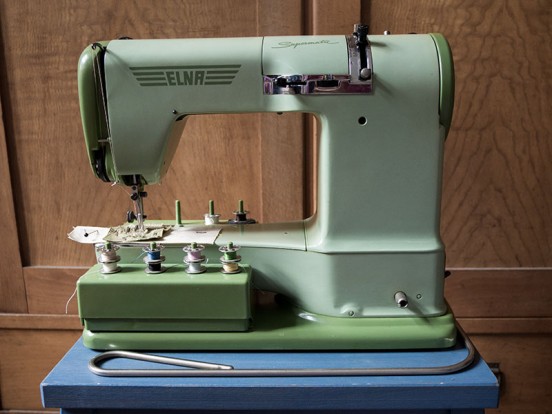
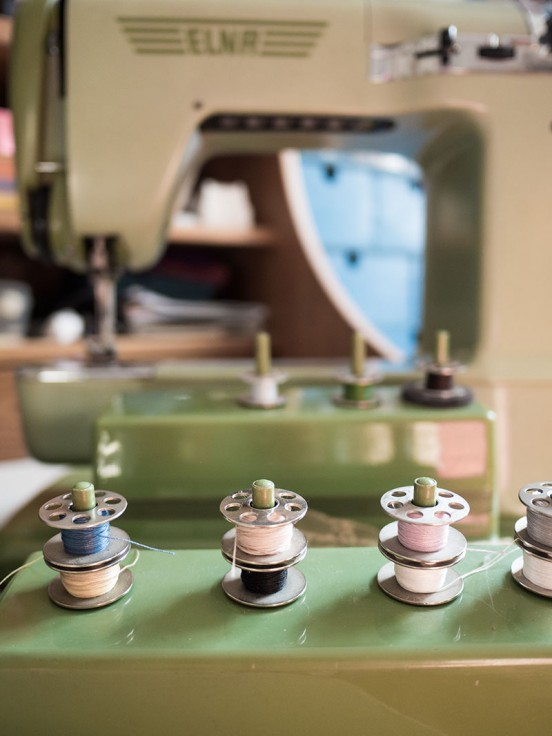
And apparently, it’s name – her name – is Eleonore now:

Eleonore-76

Here she is. And she even matches my decorating. Or rather … She exactly fits into my overall colour scheme. And she feels lovely. All metal, and really heavy.

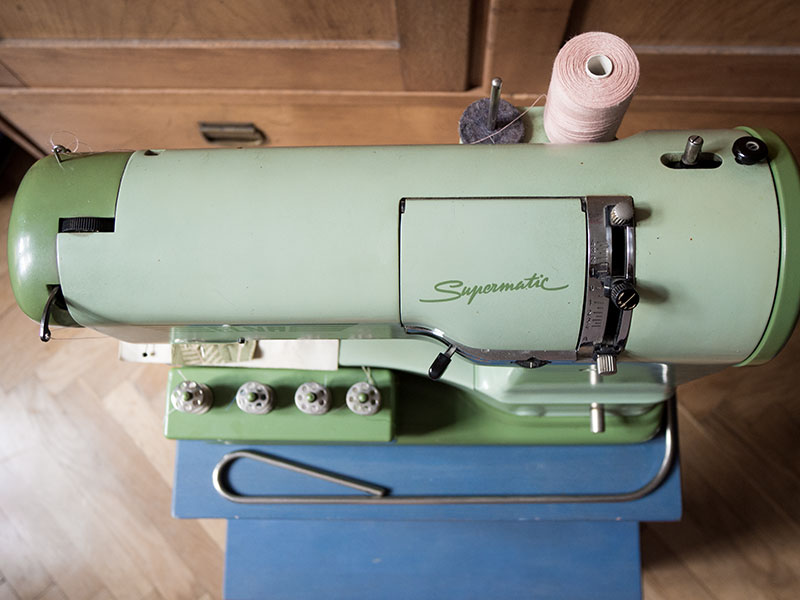
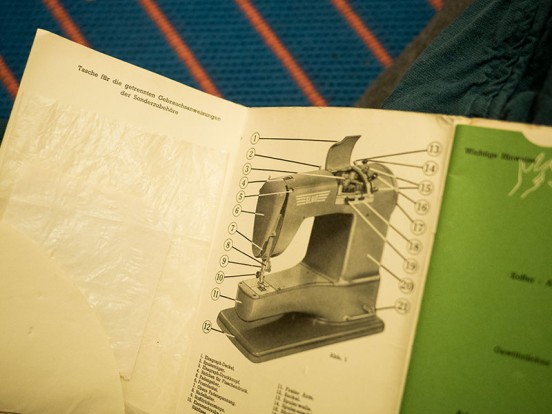
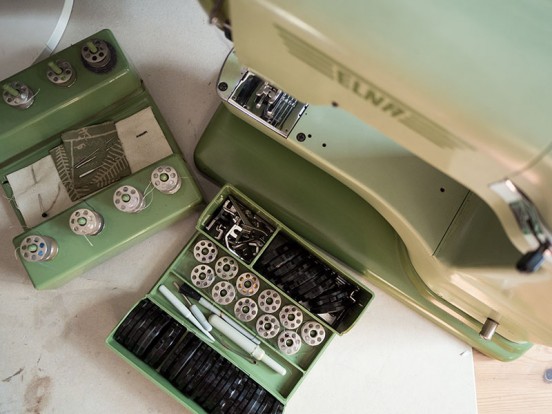
She came with the original box and a few instruction booklets that I did not take any pictures of. I did, however, take pictures of everything else. Lots of pictures:

Eleonore-75

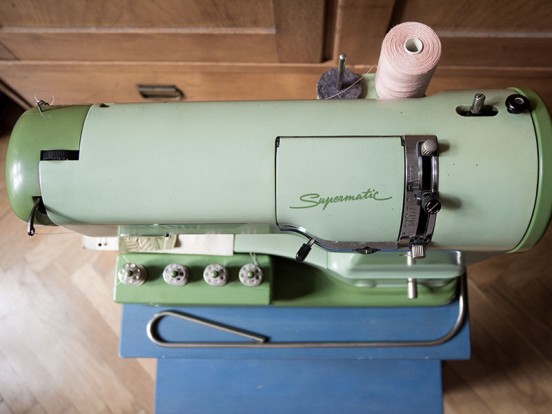
I love how the toolbox just slides underneath the bed here. It’s such an elegant solution.

Eleonore-78

Eleonore-79

Eleonore-80

Eleonore-81

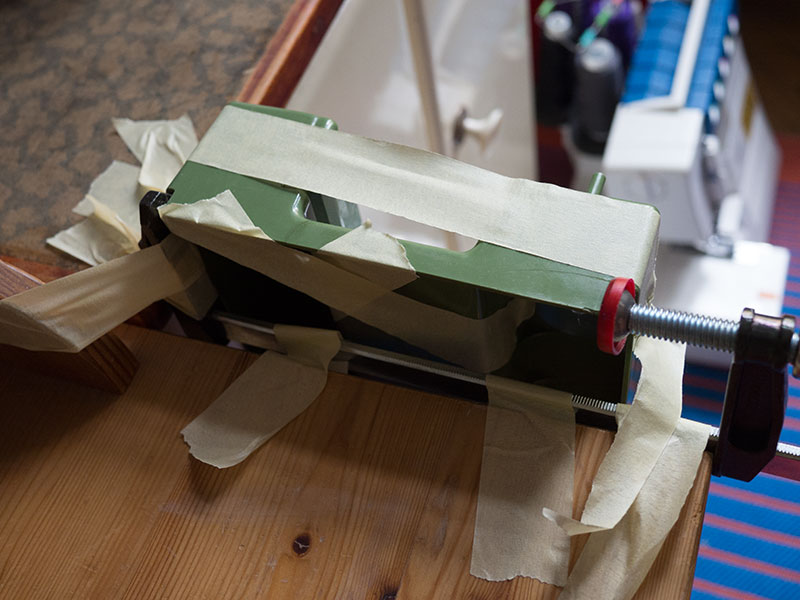
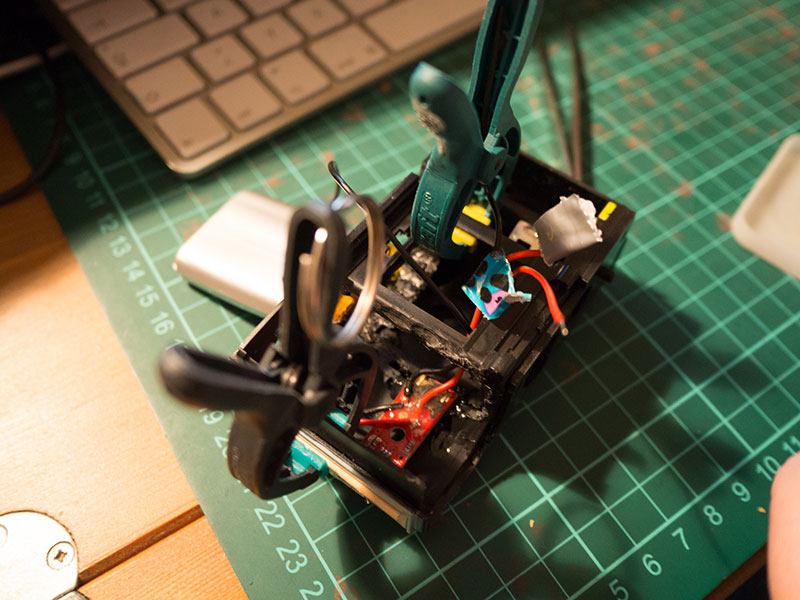
The lid of the toolbox was the only part that was a bit unhappy when it got here. But I was able to find all the parts (erm) and glue it back together with two-part epoxy. While it’s still visible – and I am not completely sure epoxy is the right kind of glue for the material – it works for now.

Eleonore-57

Totally legitimate attempt at keeping everything from falling apart while the glue was drying.

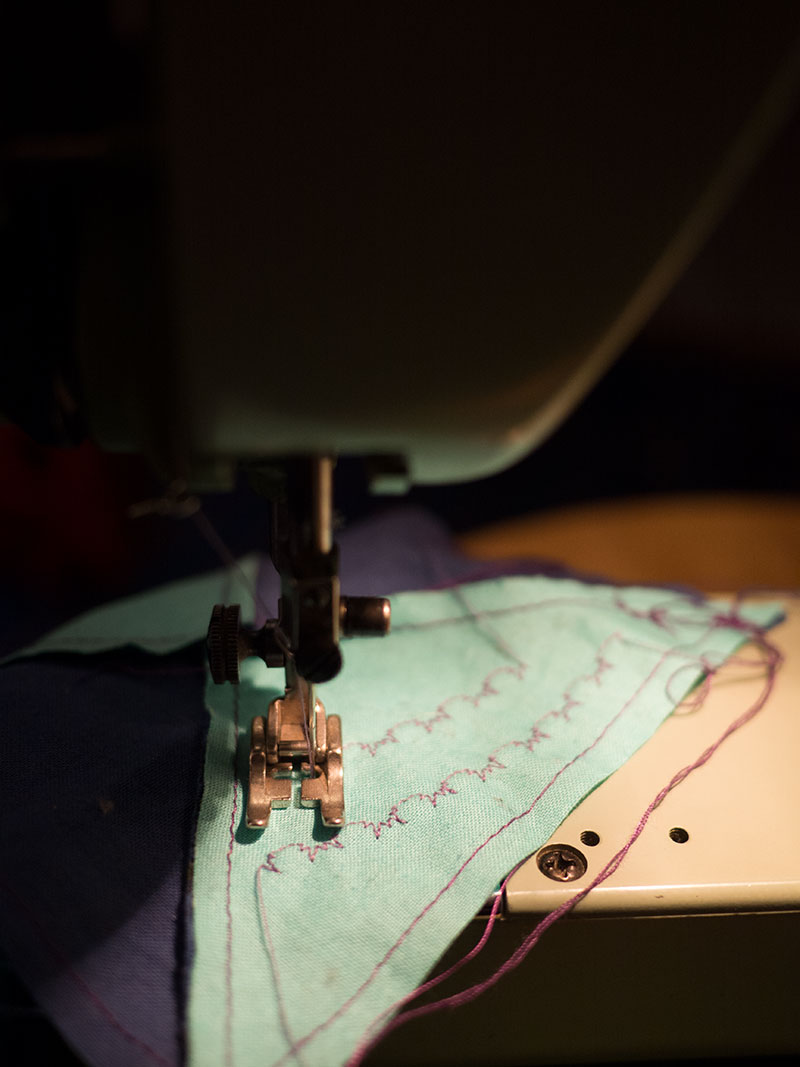
But now for the stitching! Yay, stitching! This is what it did when I first got it, even before I took it apart to clean and oil it:

Eleonore-30

Eleonore-50

Of course it was in the middle of the night, so the light is horrible. But it was working right from the beginning :)

Using the knee lever for the first time was interesting, but not as hard as I had feared. I need to work on keeping a more consistent speed and generally getting more control over what I’m doing would not hurt … But for a first try it was alright.

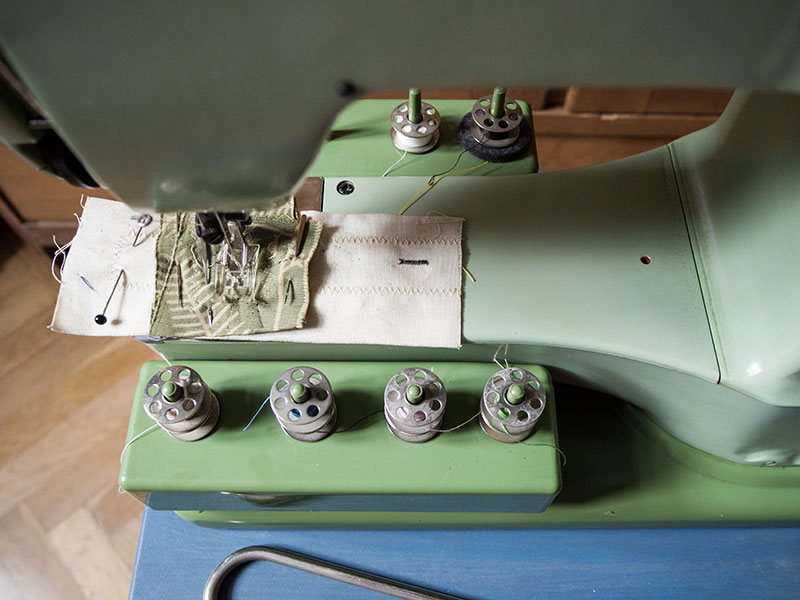
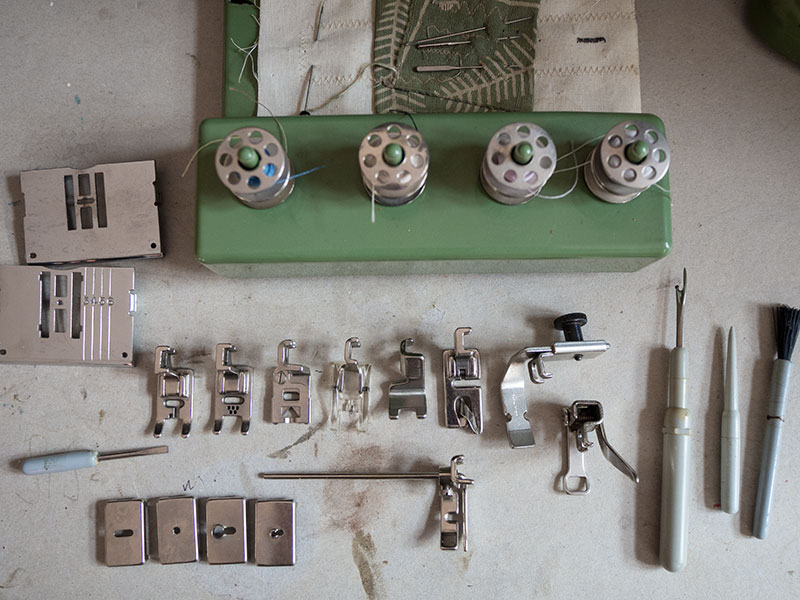
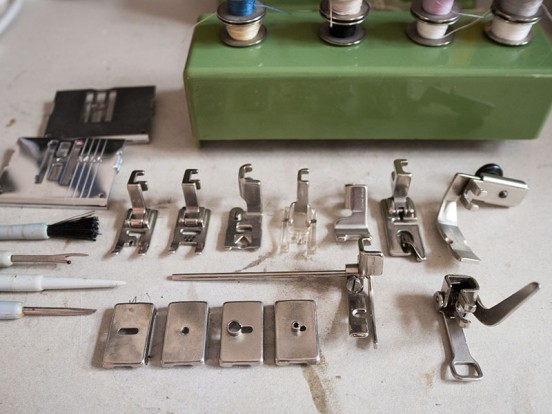
And now to the accessories:

Eleonore-67

It came with two extra stitch plates, a bunch of feet and feed dog covers, and all the original tools such as the brush, seam ripper and screw drivers. And loads of bobbins.

Eleonore-68

Eleonore-66

Eleonore-65

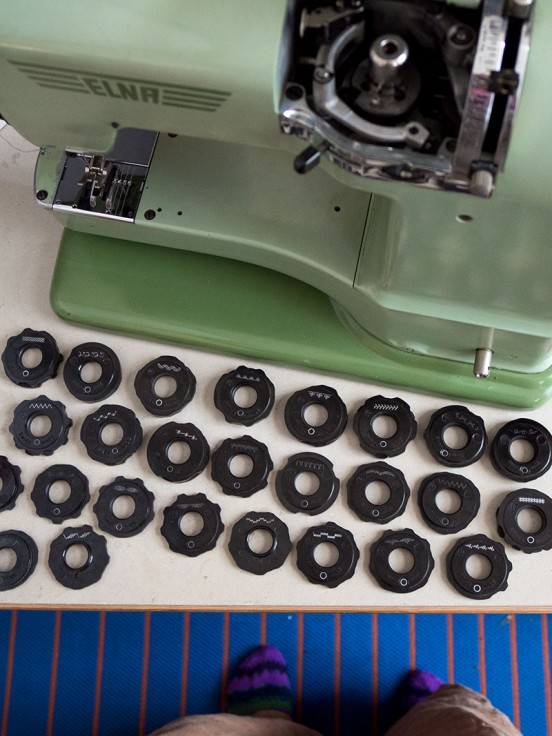
Eleonore also came with 26 different stitch cams.

The Elna Supermatic uses what they call Elna Disks for everything that is not a straight stitch: Single-layer cams for stitches that only need to move the needle left and right (Up to #36 on my sample), and double-layer cams for the more complex stitch patterns that additionally use both forward and backwards movements.

Eleonore-70

Eleonore-69

Eleonore-71

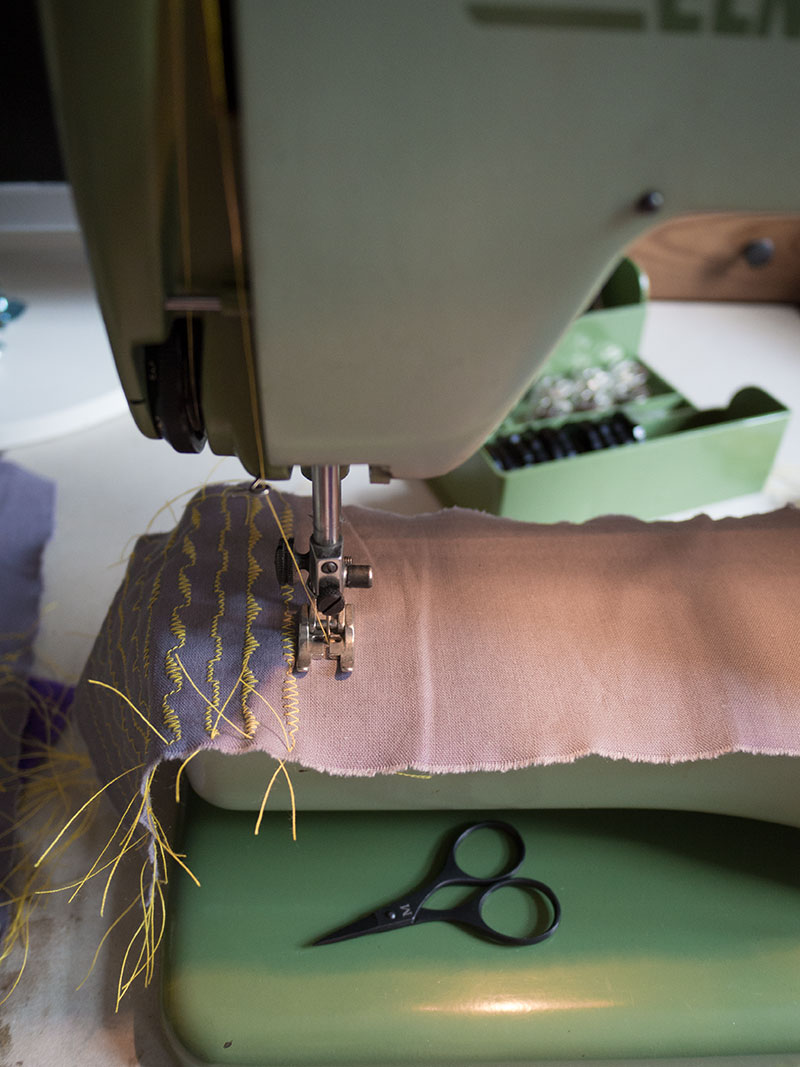
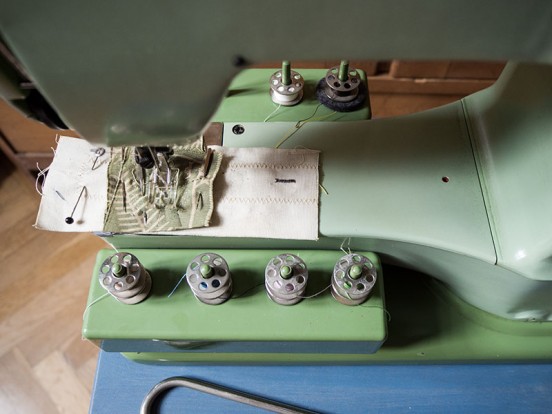
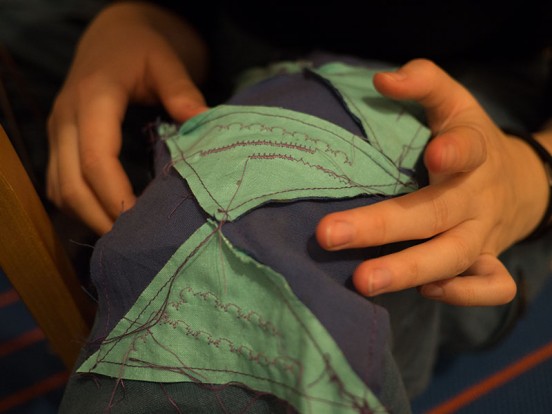
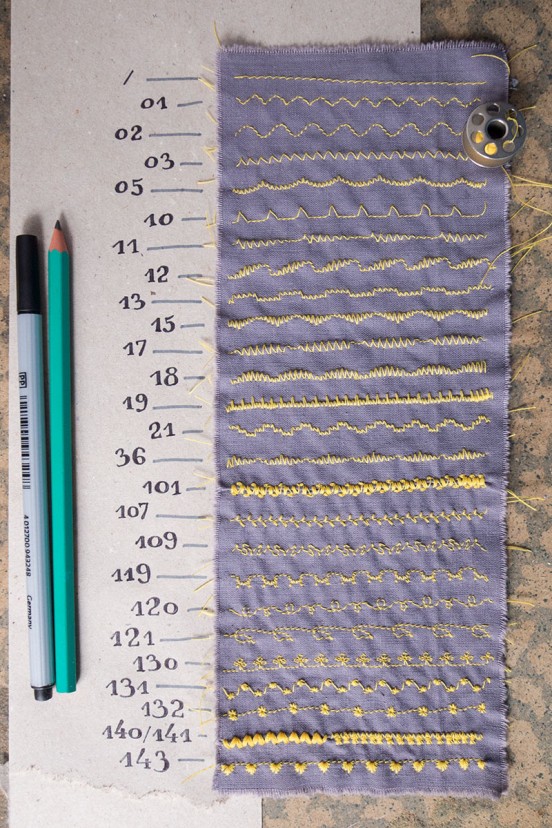
After inspecting everything that came with the machine and reading the manual, I also made a sample piece to try out all the stitch cams:

Eleonore-72

And here it is: All the stitches:

Eleonore-73

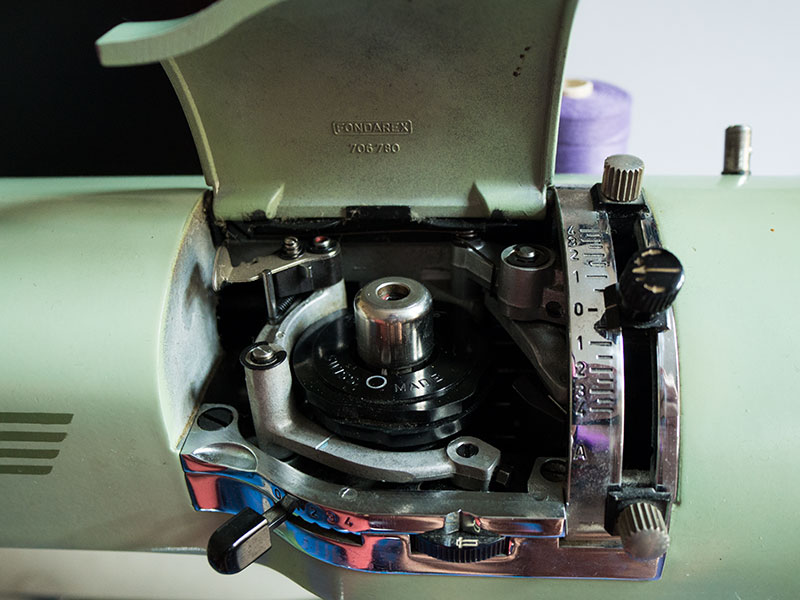
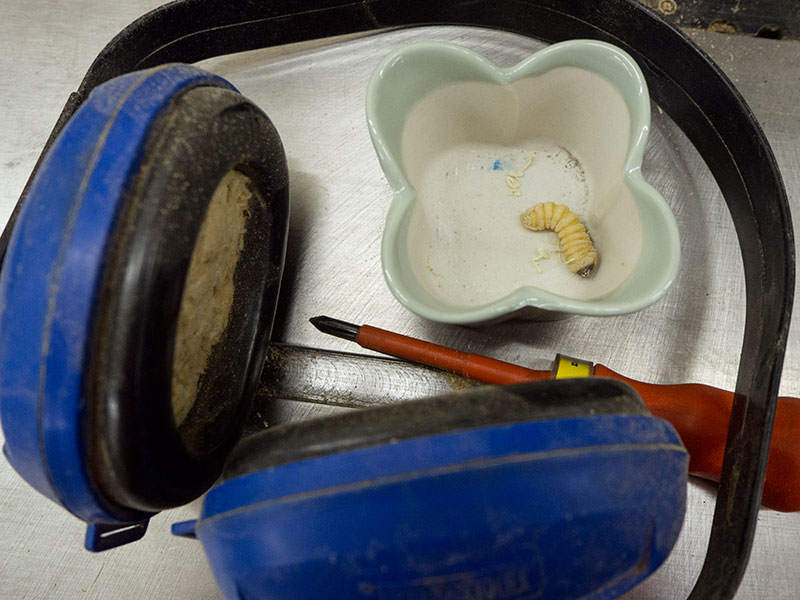
After the test drive, I also took the machine apart as far as I could. I did some cleaning and oiling and I also got rid of a colony of dead moths that ended (up) inside the machine. Yum.

She is so shiny and pretty now :)

Now I just have to find a new project to play with! It’s been a while … For a number of health and related reasons, I did not have the energy or motivation to sew much in these last few monts. But I really hope that the spring sun will change that sooner rather than later**.

*Insert evil laughter.
No, seriously. A big thank you to the people who live very close to the the end of the world.

**Yes I am aware that it’s snowing again, and it’s freezing. But one can hope for a bit of sunshine, right? It’s almost may -.-

bathing in sawdust

turning-wood-1

This week, I had to get some paperwork in order, so I travelled home. I also visited my friend Rudi and his turning lathe, and we set out to make little pedestals for some of the tiny little succulents in my collection. They do not seem to get enough light sitting in their tiny pots with all the bigger plants being in the way. So I thought maybe making a few little stands might just be the thing.

The piece of wood in the top picture is the first thing I actually turned myself without help – I even made the (square) piece of wood round all by myself. It took a few hours, but I think in the end handling the tools was starting to feel alright. I didn’t even manage to poke out one of my eyes, and I still have the same number of fingers I started with! It’s a very successfull week, this week.

Considering there was no weather today, spending the day bathing in sawdust in someone’s windowless basement was probably a good choice. And my plants now (almost) have something to sit on to get them closer to the sun. If I get around to painting the pieces and the sun decides to come out again at some point, that is.

Anyways. After I spent forever to make 3 wooden things, Rudi made one as well. Surprisingly, it did not take forever. And because one cannot possibly turn wood and take pictures at the same time, I documented how he made his piece:

turning-wood-2

I contributed by drawing the sketch and being annoying.

turning-wood-3

turning-wood-4

turning-wood-5

turning-wood-6

We also found an ugly little wood worm. Poor thing used to live in one of the logs that we were working on, so it had to go.

worm


Posted in DIY 24.03.2016

purple. red. hat.

purple-and-red-1

I knit another hat, and it’s actually wearable!

As per the recipient’s request, it is really warm and I am quite happy to have found red yarn to perfectly match their hair.

The two-coloured brioche creates a really thick, squishy fabric and the folded up brim adds an extra layer around the ears. And while the stitches could have been a bit more even, I think it’s not too bad for my second knitting project ever.

purple-and-red-4

purple-and-red-2


Posted in DIY 08.02.2016
Tagged

snowflakes

snowflake-finished

Very kitschy and heavily embellished snowflake coasters!

Luckily, not everyone is connected to everyone else just yet, so I can show you gifts I helped a friend make :P

I used the snowflakes to try engraving acrylic glass with the laser, which is something I will need for a future necklace-project I have been planning for a while.

It took some time to find the right material for the necklace-to-be, but now that I have the material and the handling of the robot figured out it should not be too long until I can get started.

While I am not too fond of how laser-engraving looks on wood, it is quite lovely on acrylic. Maybe I would even like how engravings look on wood, if burnt edges on unfinished plywood weren’t just screaming hackerspace project in a not-so-aesthatically-pleasing way? Not sure.

But then I generally do not like unfinished wood. It looks rather bland, and it feels horrible.

Let’s just stick to engraving things that are not wood for now ;)

snowflake-cut

And as I am being asked about the laser a lot, I made a video of the cutting process.

The video is a bit lame as I was too lazy to edit it much, and not brave (or stupid) enough to put my camera beneath the lid, right into the machine while it was running. But here you go, I hope you still like it:


Posted in DIY 20.12.2015
Tagged

ppplay

ppp

Blinkenletters. Pretty cables.

Soldering seven thousand (that’s only a slight exaggeration) LEDs onto wooden letters is in equal parts annoying and very soothing.


Posted in DIY 07.12.2015

it’s a lamp.

For the newest strange experiment, I turned a camera into a lamp. I am not sure how useful it is yet, but it looks fun.

Here, have a few making-of pictures (A.k.a. what might be the worst pictures that ever ended up on this blog. But I don’t care because I completely forgot to take proper pictures, so this is all I have):

PA090014

But it has a battery, a micro usb port and maps printed on it.

The thing looks really silly sitting somewhere, plugged into a power outlet.

PA090011

The red thing is the usb port, so there’s a barely visible hole for the plug at the outside of the camera for easy access.

Aaaand as we had a bunch of broken cameras, we destroyed about 6 until the lamp was working. I also replaced the original Diana Mini lens with a full-sized Diana fisheye lens for aesthetic reasons.

The black insides of the lens were spray painted silver to act as an reflector and I sanded all the lenses to diffuse the light a bit. And to my surprise I didn’t even feel bad about it.

PA090021


Posted in DIY 18.10.2015