
papier mâché antlers
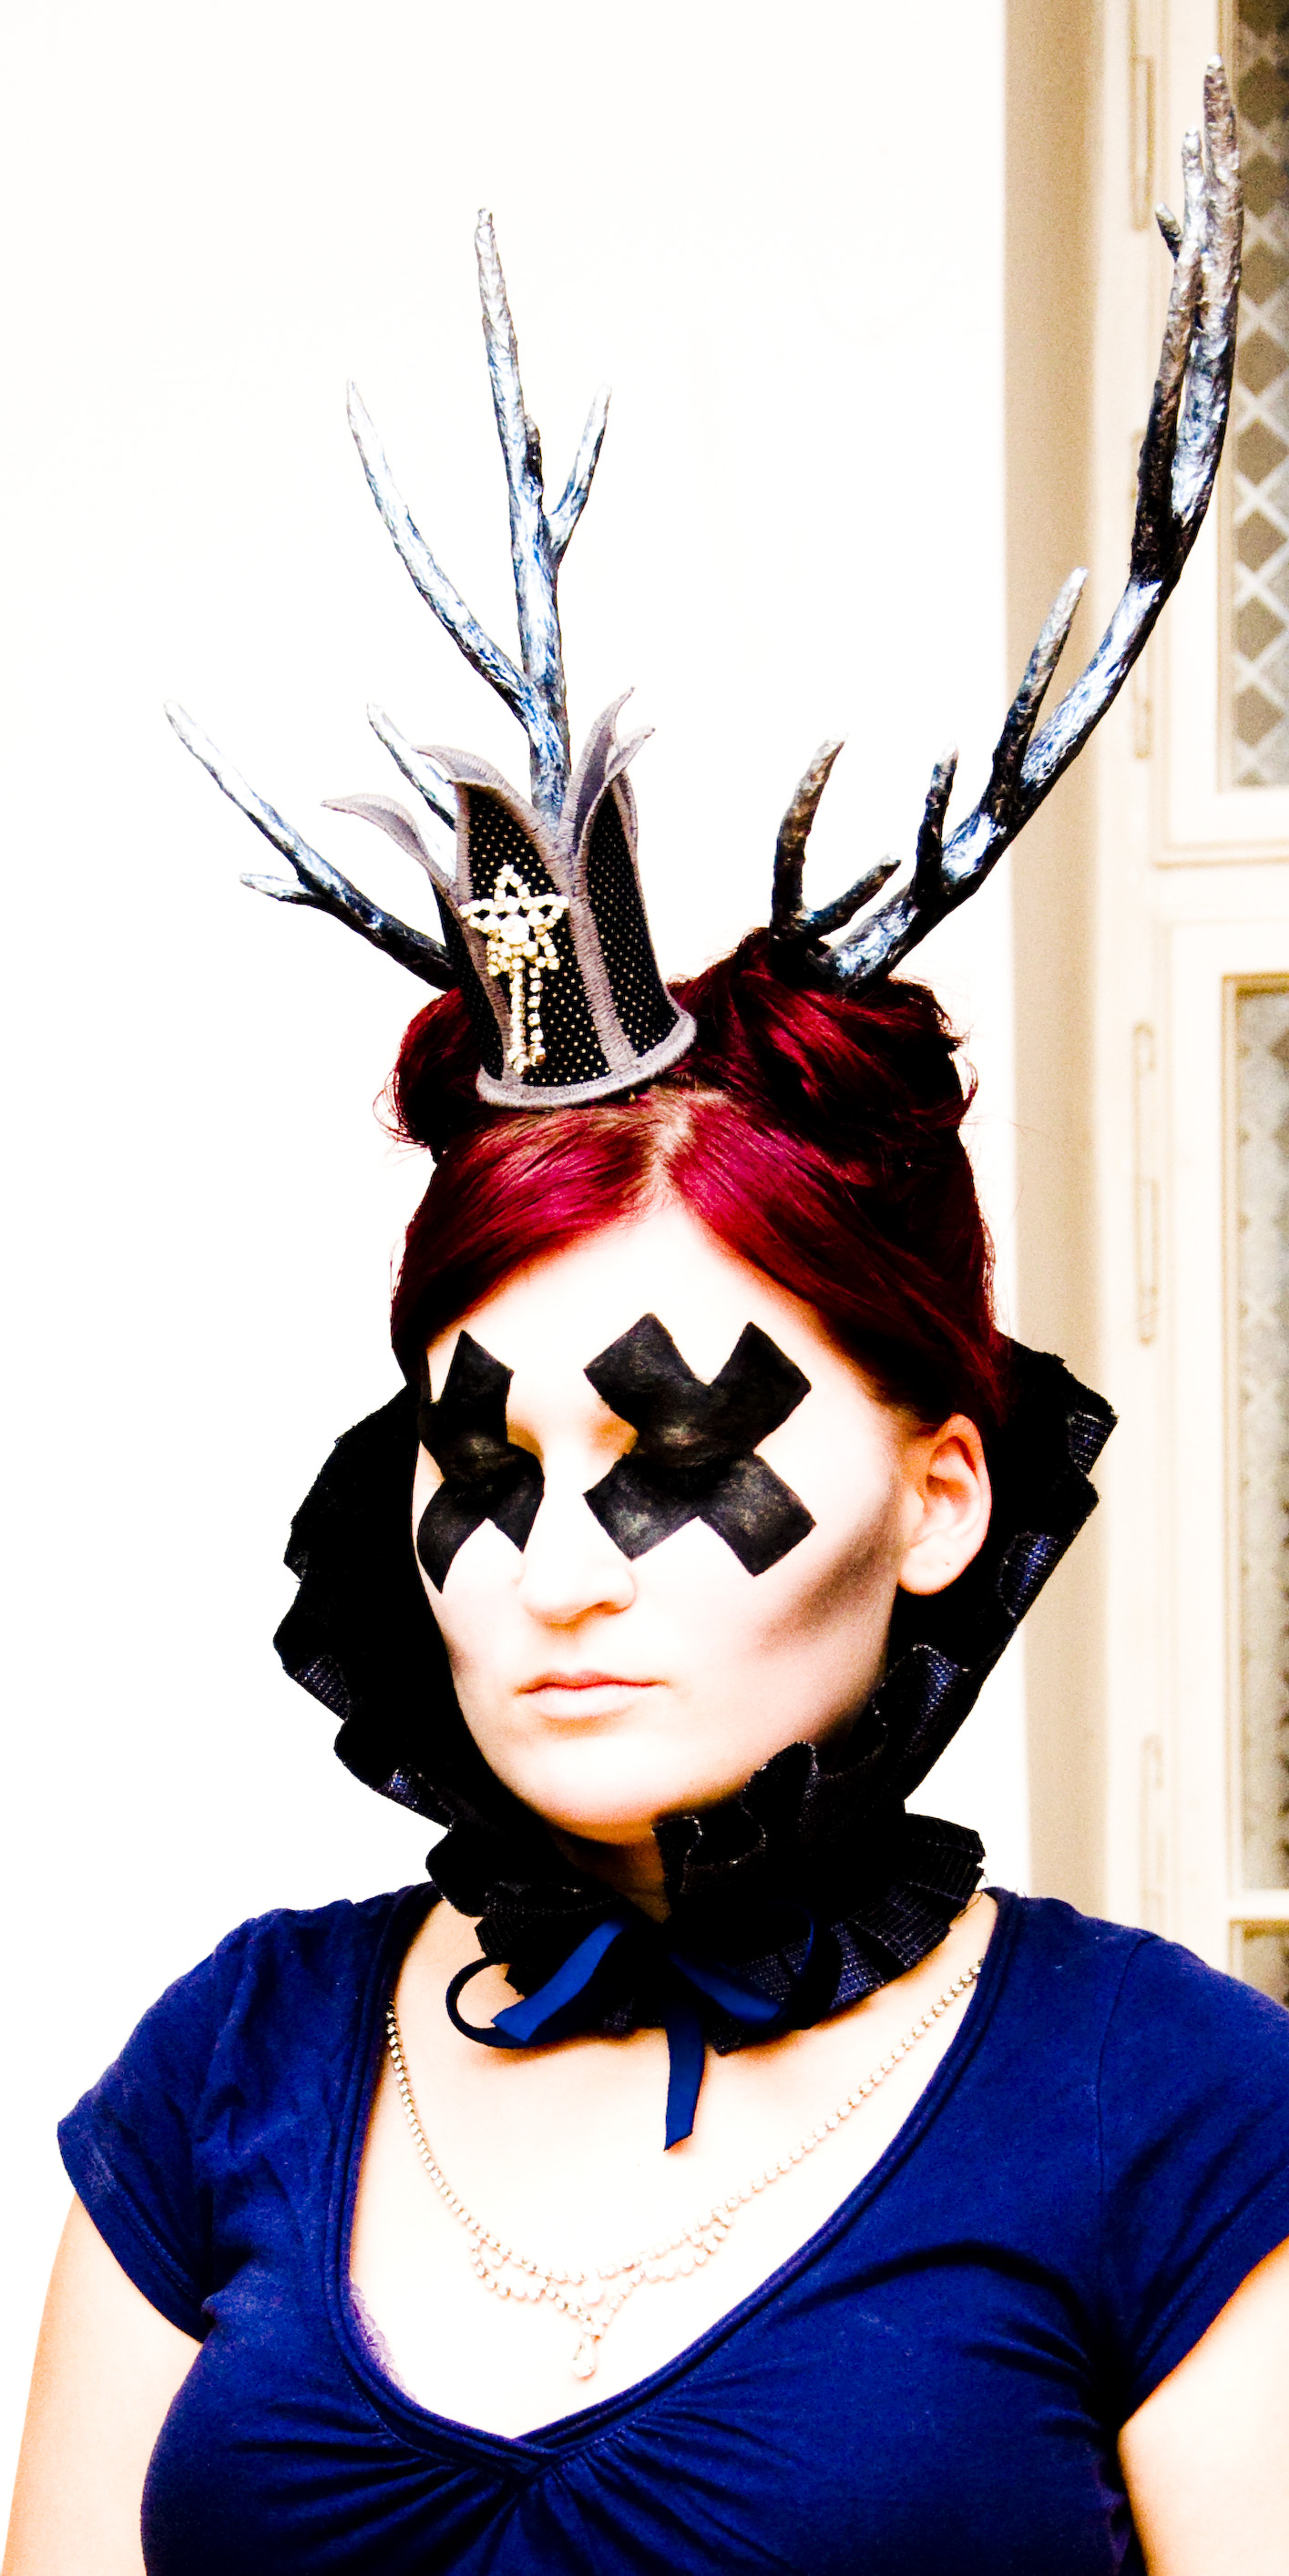
My Halloween costume from 2011. I used the same technique, but made everything quite a bit bigger (14 point instead of 6). The antlers are painted blue and silver, then aged with a bit of black paint.
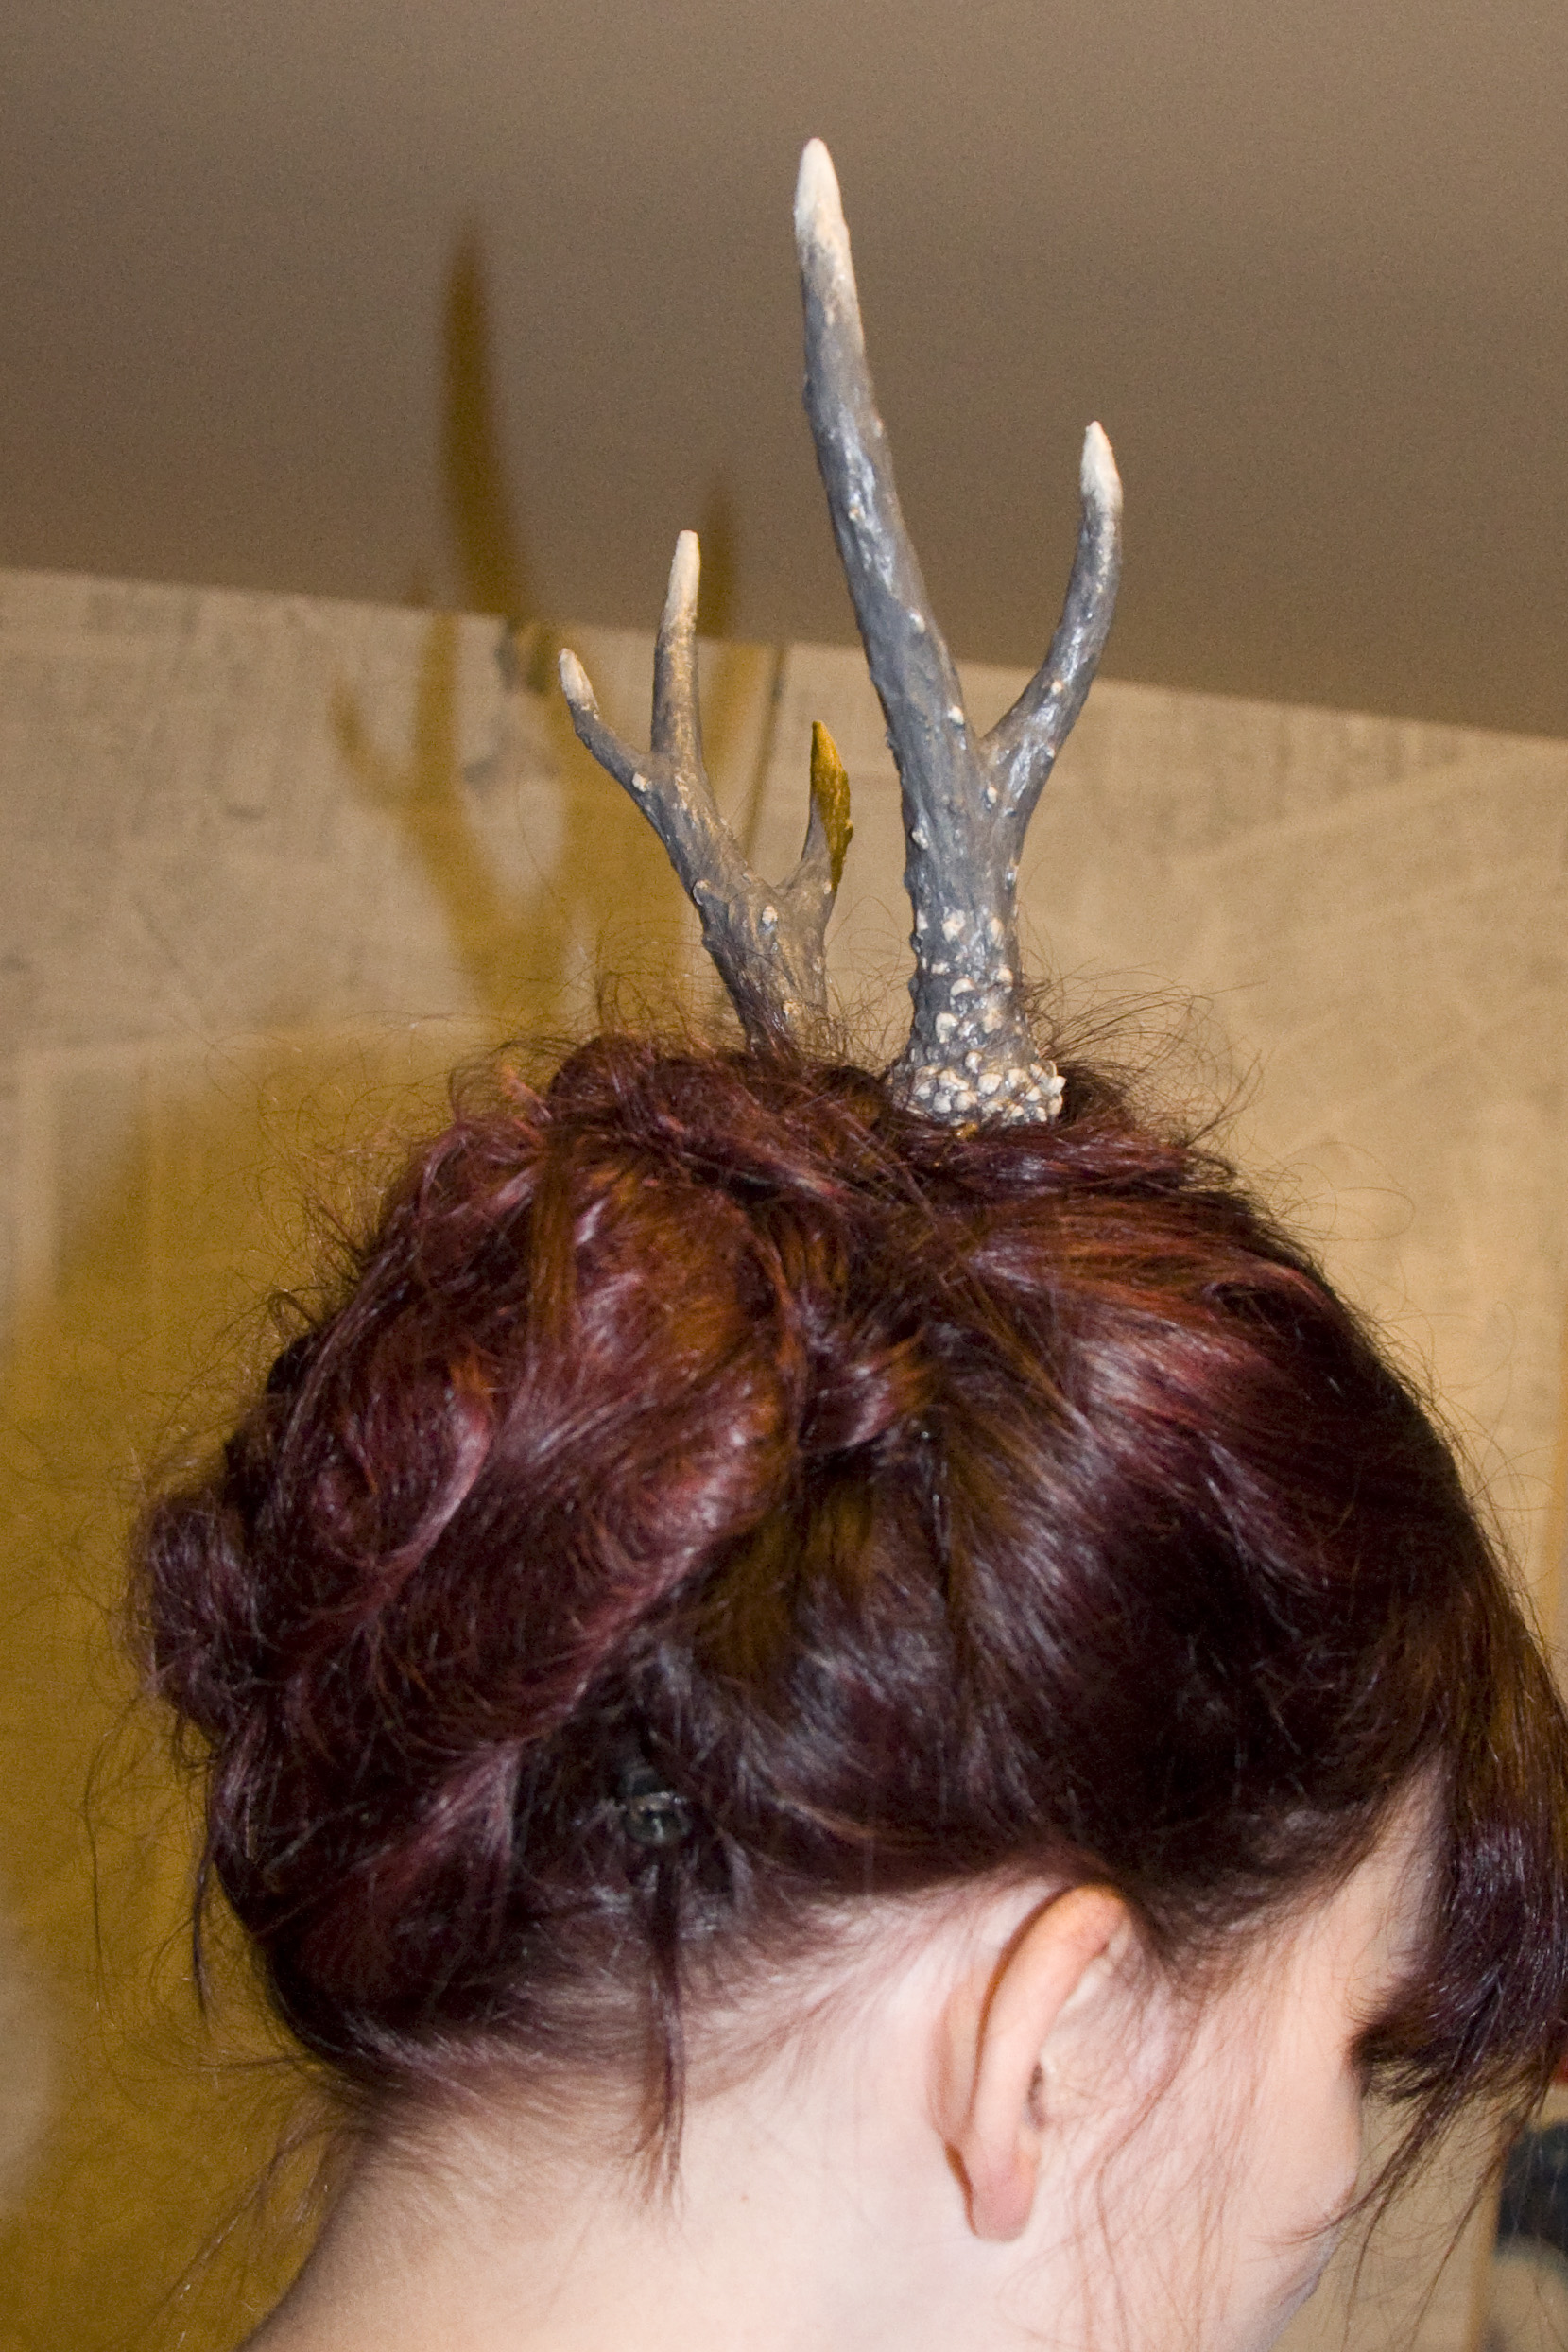
This is the pair of antlers I made for the tutorial.
+++ I posted this tutorial on Craftster quite some time ago, but I thought it wouldn’t hurt to have it here as well +++
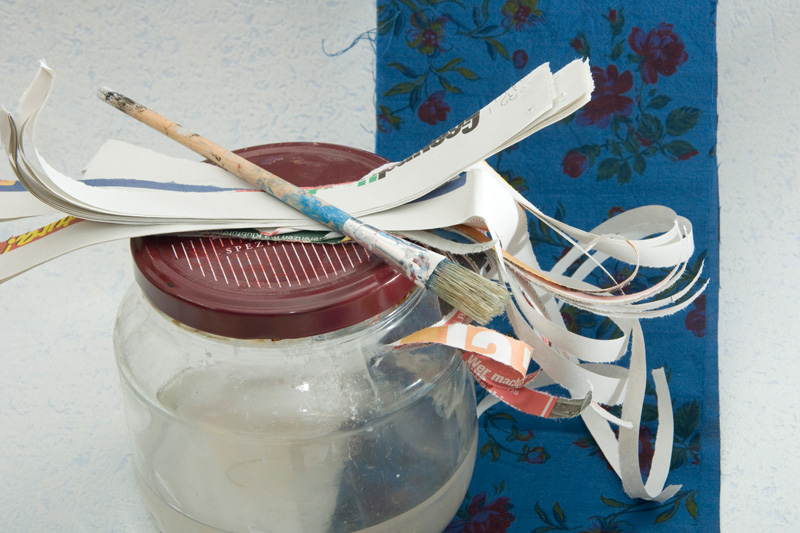
materials
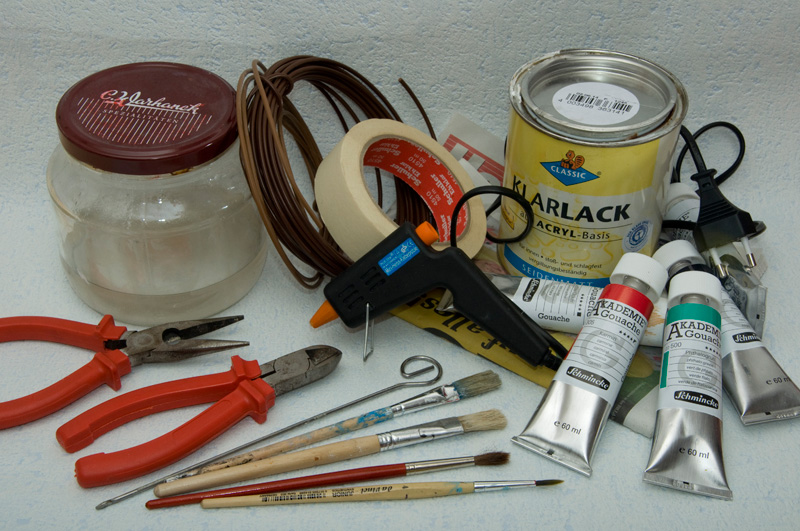
- wire (I prefer rubber coated cable, the kind that’s used in walls.)
- masking tape
- wallpaper glue
- newspaper
- hot glue gun
- paint: I prefer soluble paint for this project – I used gouache for my antlers. You will need black, white, a not too yellow-ish green, ochre, and red
- brushes
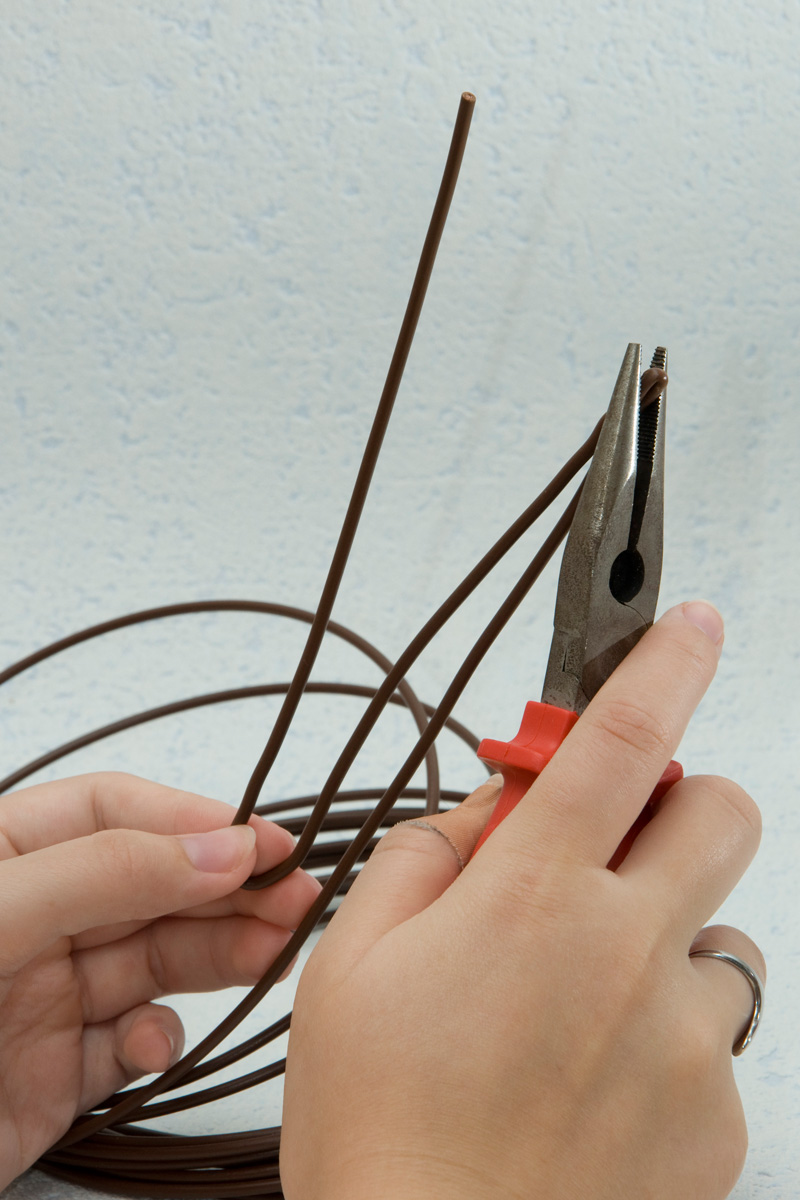
- a pair of universal pliers (or something to cut the wire and to press the points flat)
They make a great weekend project, as the small amount of papier mâché takes just a few hours to dry. I think the pair for the tutorial took about 5 hours, but that includes picture-taking too.
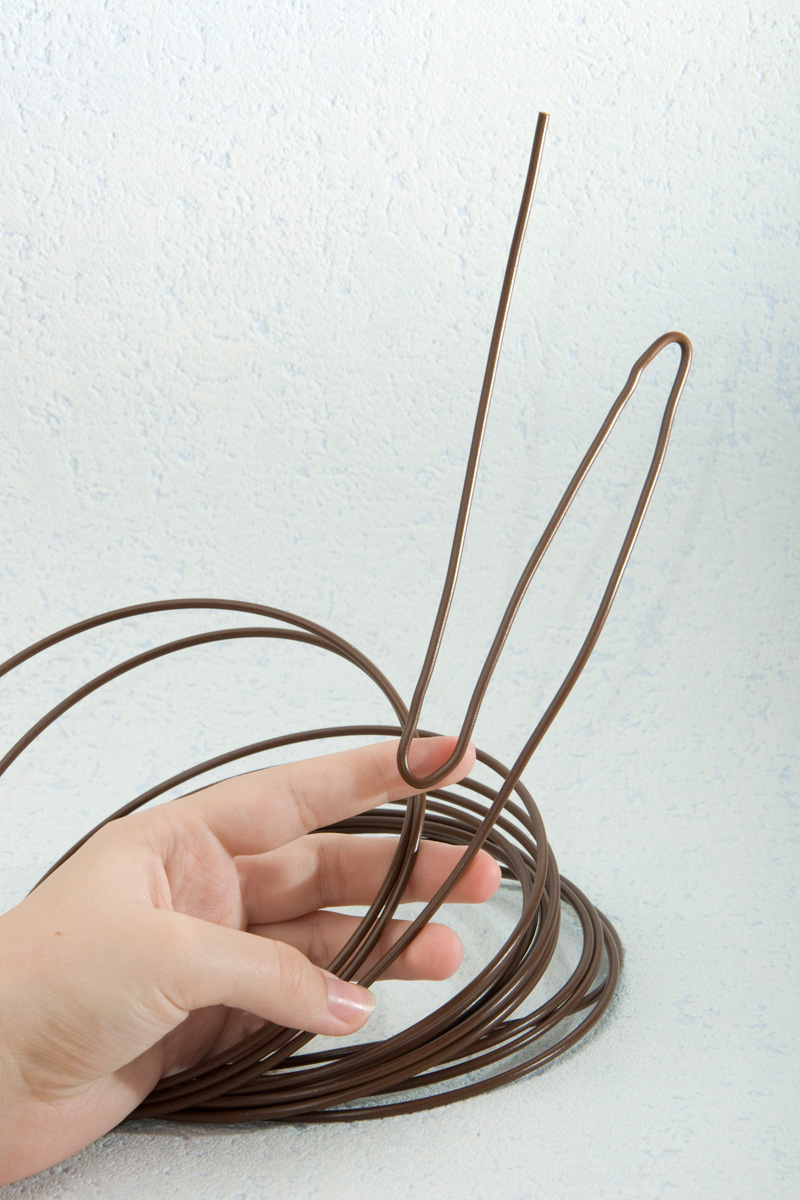
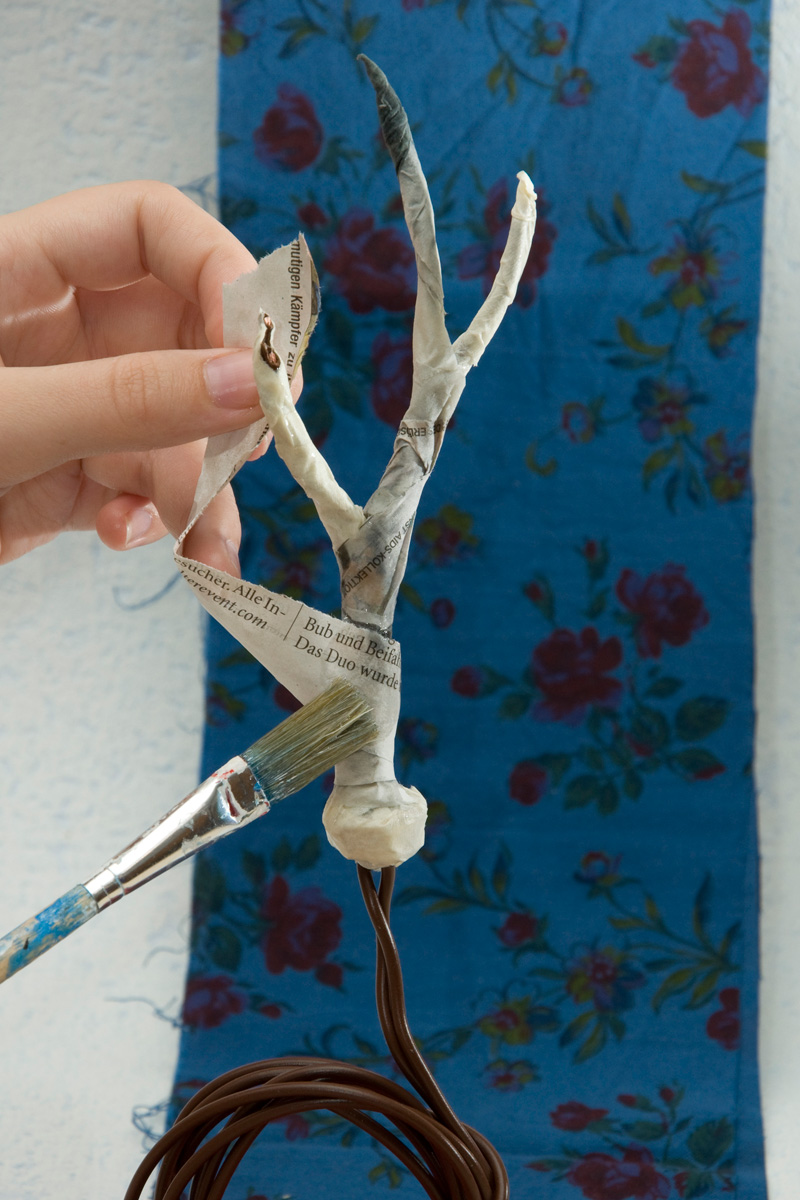
At first we’re going to build the base out of wire/cable:
Decide how big you want your antlers to be and how many points you want, maybe it would be a good idea to draw a sketch first. The size of your finished antler is the length between the tip/end of your wire and the first bend. Don’t cut the wire yet!
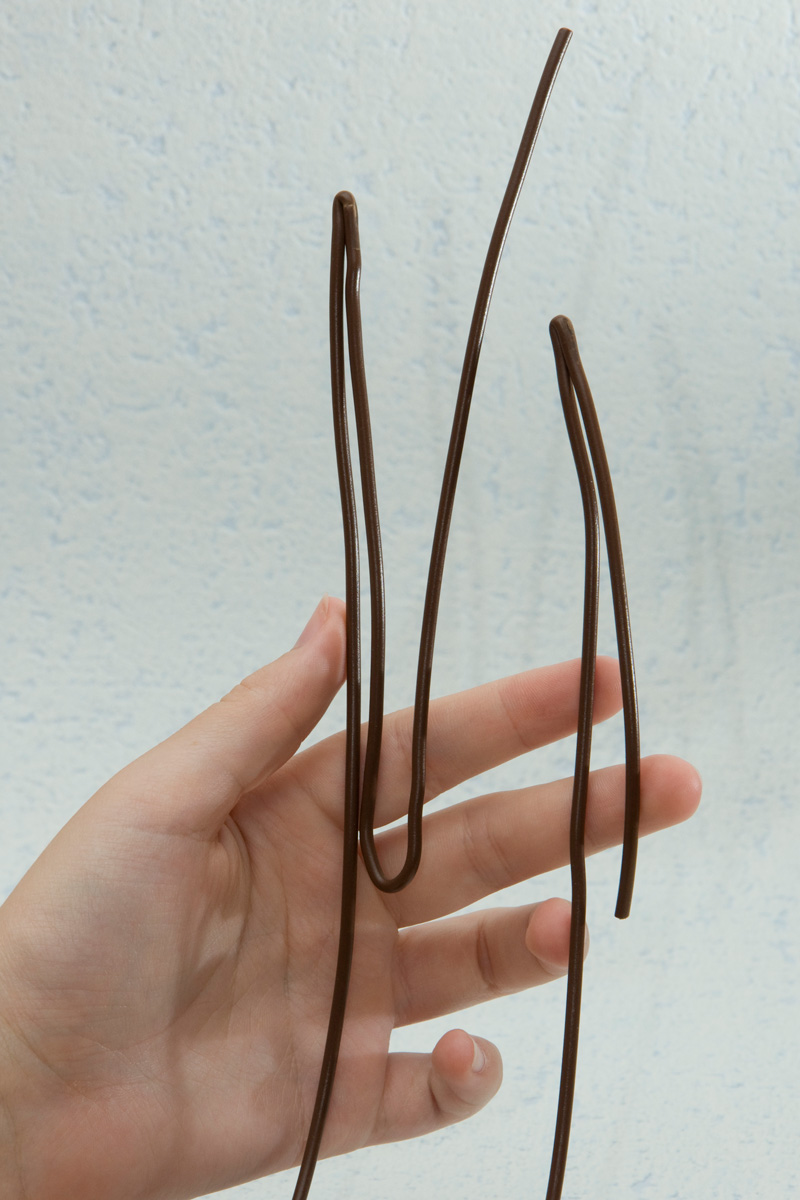

Now bend a piece of wire for every point of the antler. Use your pliers to get all the tips as pointy as possible.

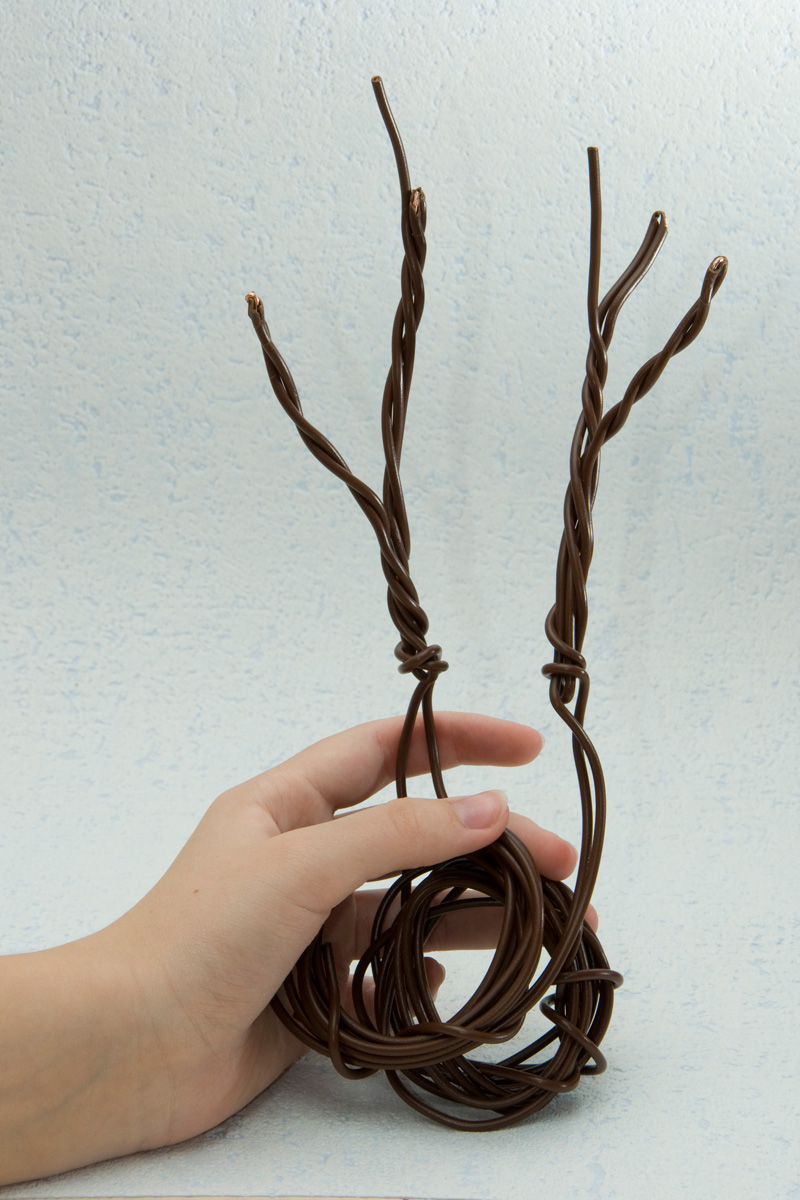
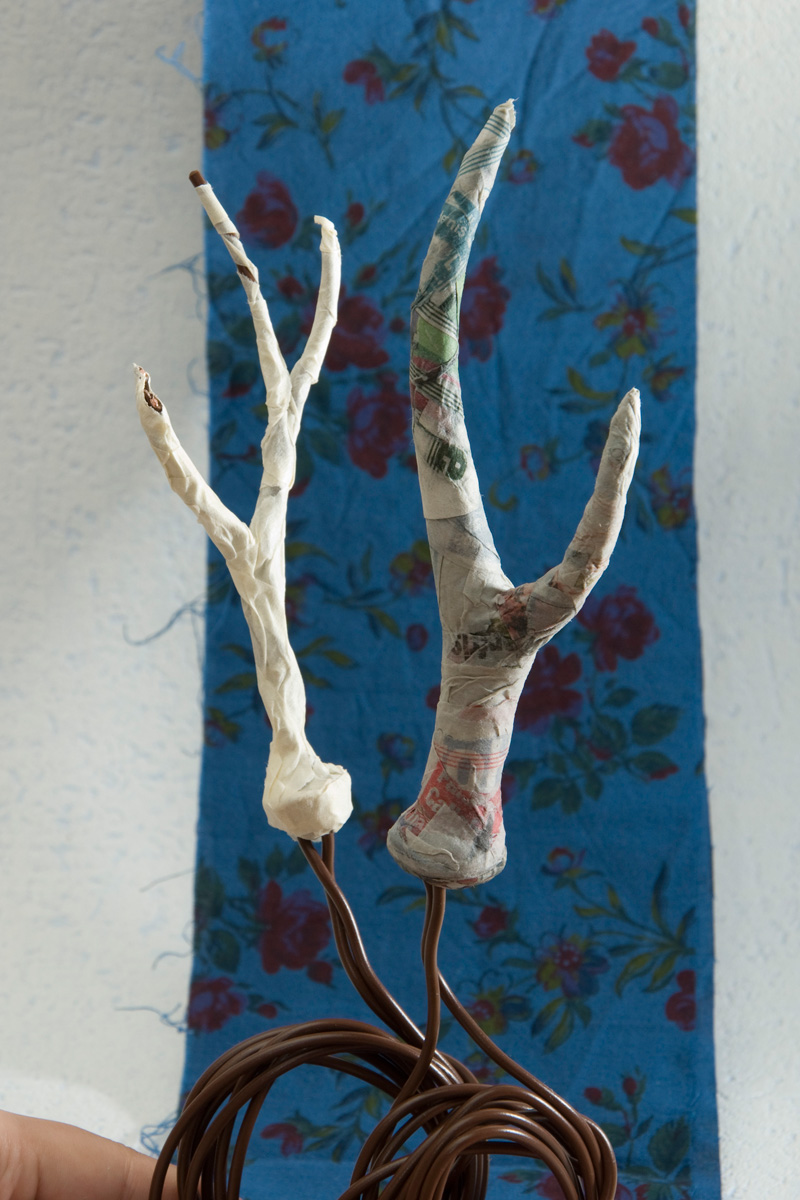
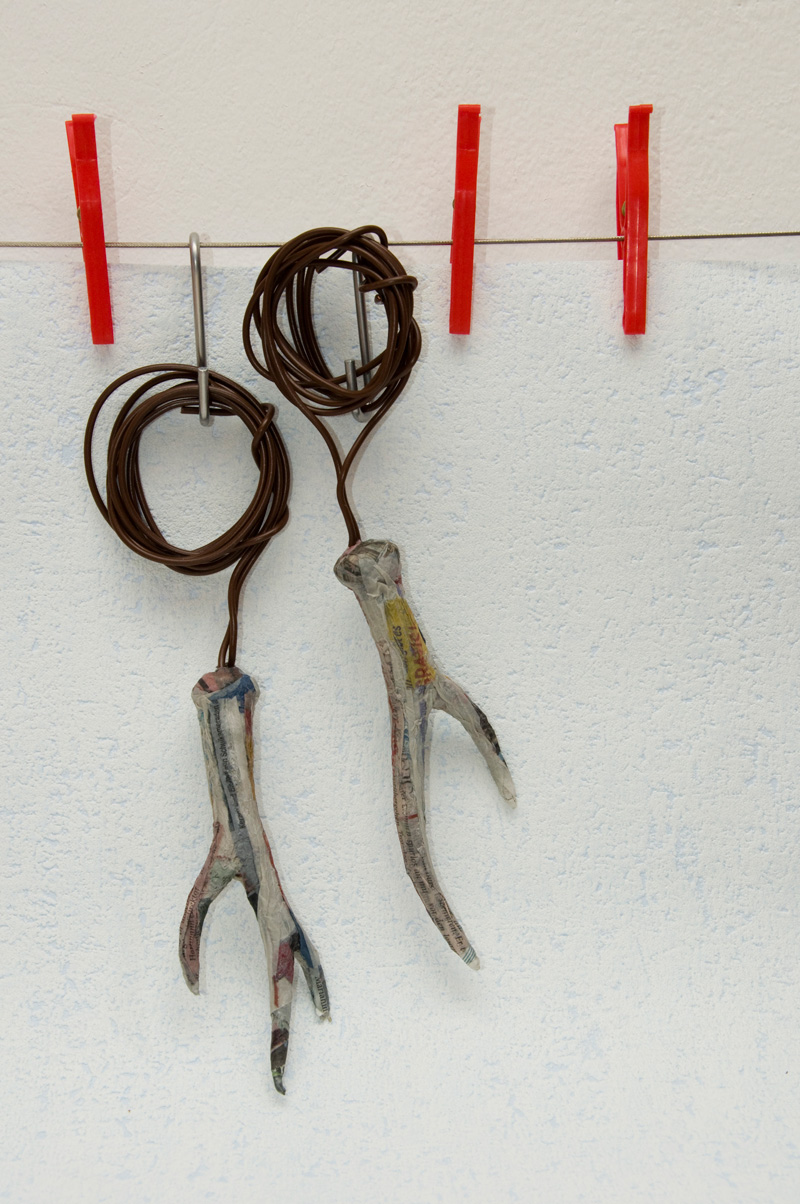
Twist all your individual pieces together. Then wrap a single strand of wire around the very bottom of the antler to get that bulge where the antlers attach to the deer’s skull. Play around until you get a shape you like, then just secure the loose ends – I made loops so I could hang them to dry later.

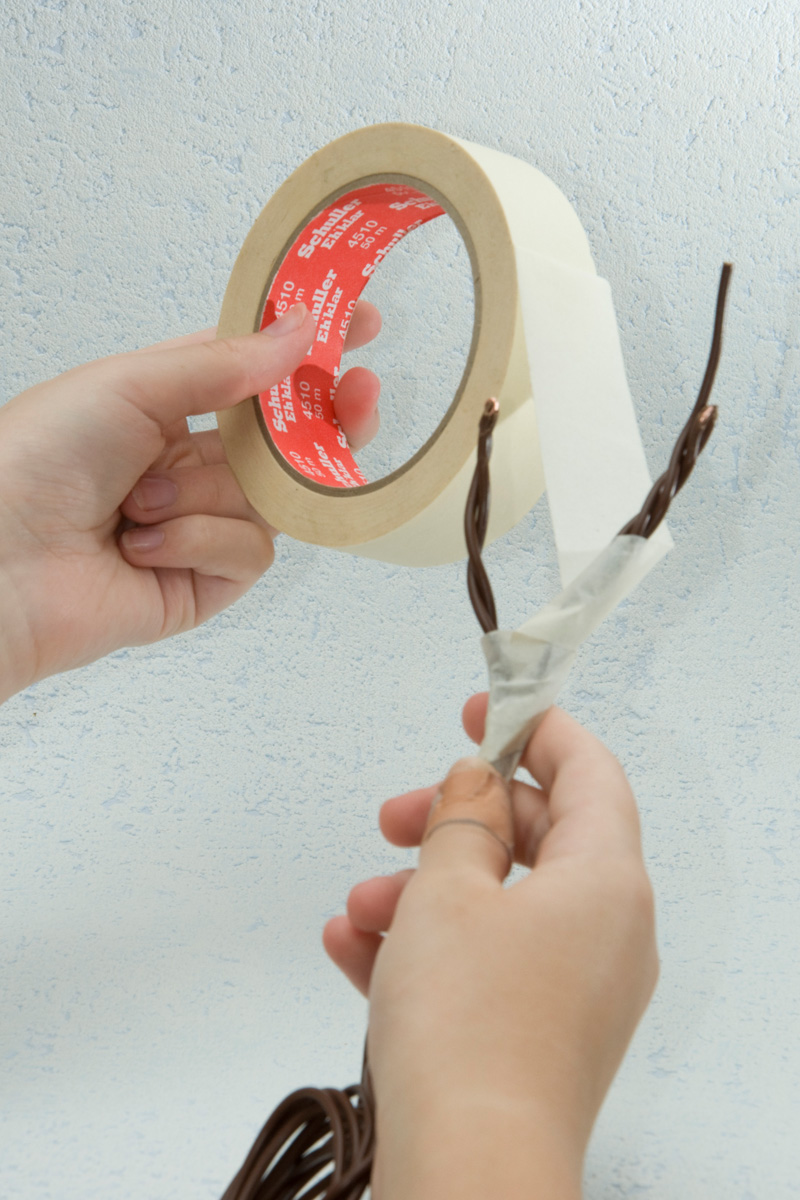
Now add a layer of masking tape. That will get you a smoother surface and the papier mâché will stick so much better. It’s a good time to get the overall shape right, but make sure that you don’t add too much material to the tips.

If your antlers look at least remotely like that, it’s time for the papier mâché ;D
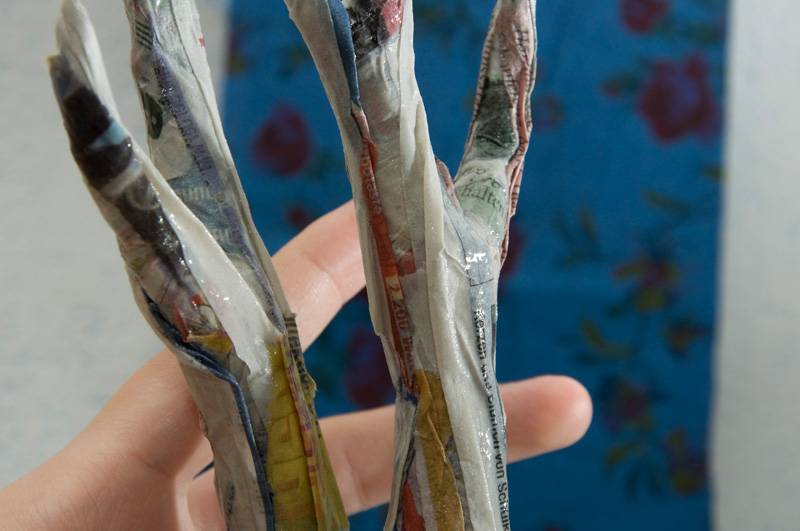
Prepare lots of narrow strips of torn newspaper. You will also need the wallpaper paste and a paint brush now.

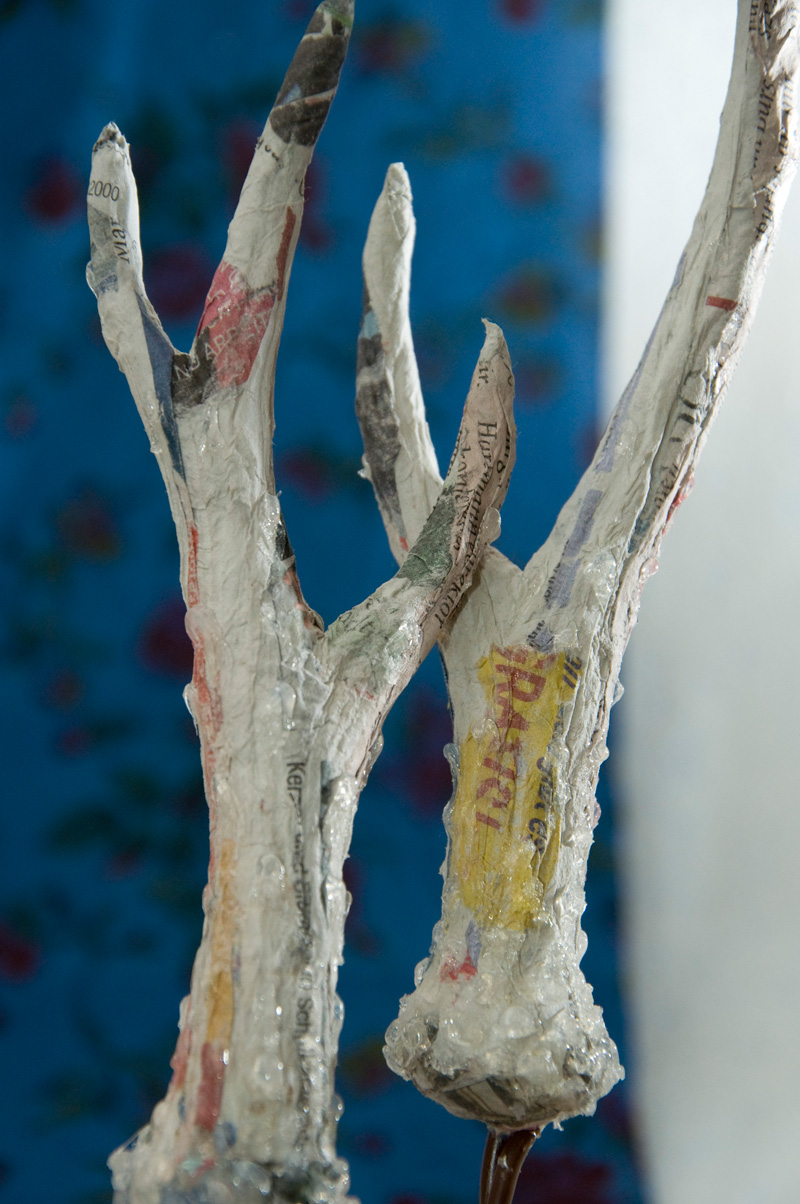
I think that part is pretty self-explanatory. Add newspaper strips until both pieces have a nice even layer of papier mâché. Work on the general shape but don’t bother about the details too much, we’ll get to that in a second.
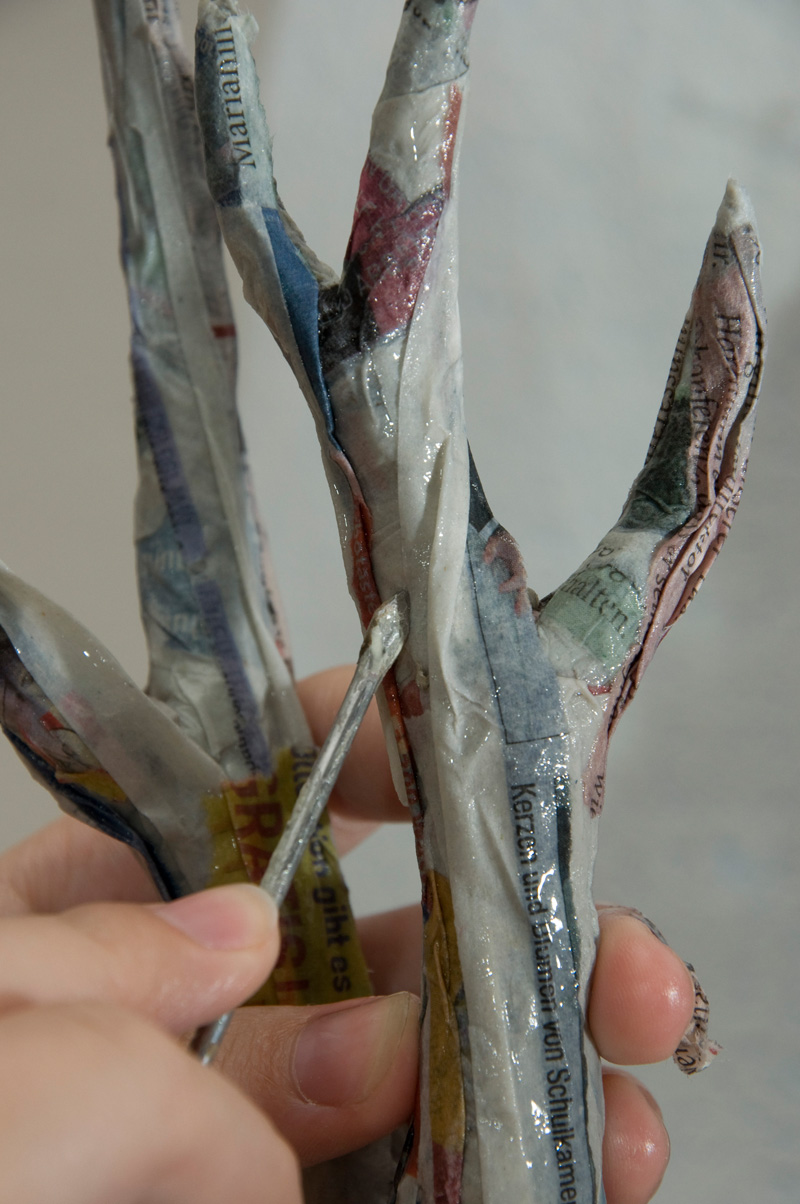
Now that the base is done, we will work on the surface: Take fine strips of newspaper and twist and fold them a little. Then attach them to the antlers with your wallpaper paste using a screwdriver or something similar to give your antlers the typical, slightly furrowed surface.

Now you can hang them to dry for a few hours – I just left mine overnight. It won’t take too long, but make sure everything has dried thoroughly before you start painting.
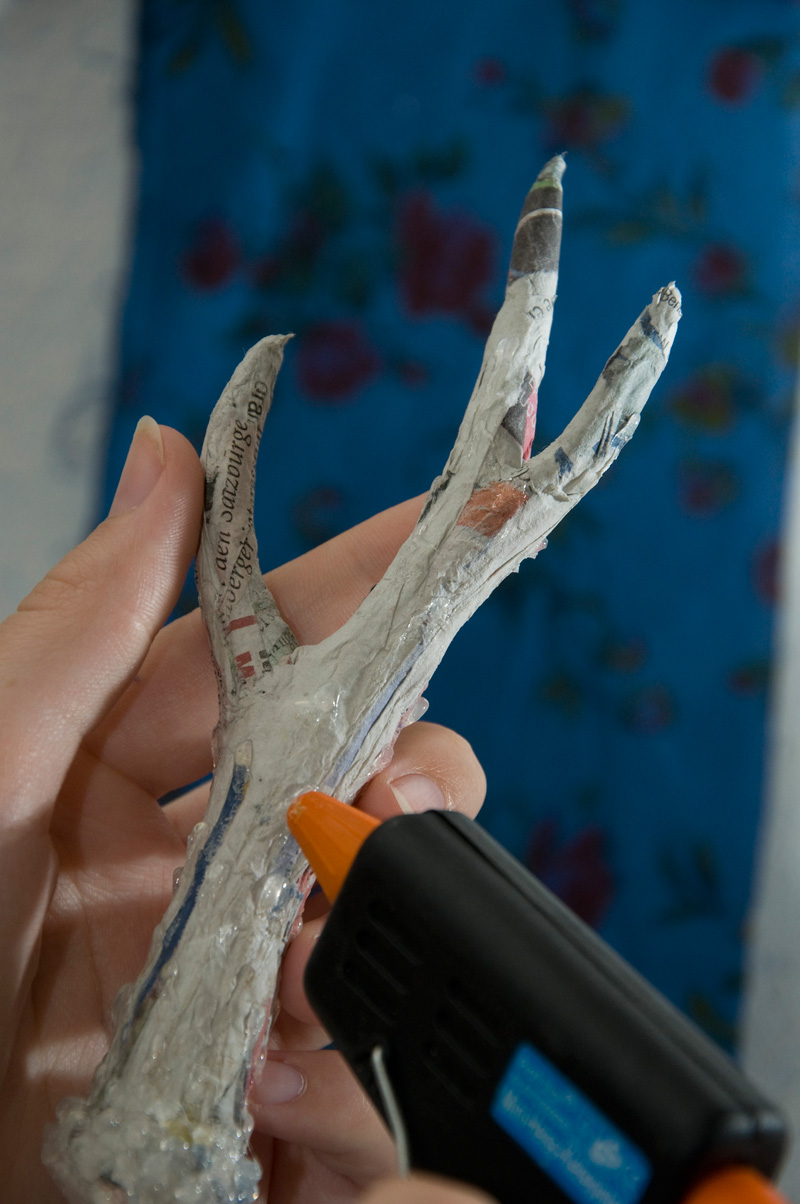
Antlers usually have this little dots/balls/whatever they are called. Starting at the bottom, gradually starting getting smaller and fewer towards the top. I get that effect by adding lots of tiny dots of hot glue.
It can be a bit tricky to get the paint to adhere to the hot glue in the next step, but it really helps to give everything a coat of hair spray before you start painting.
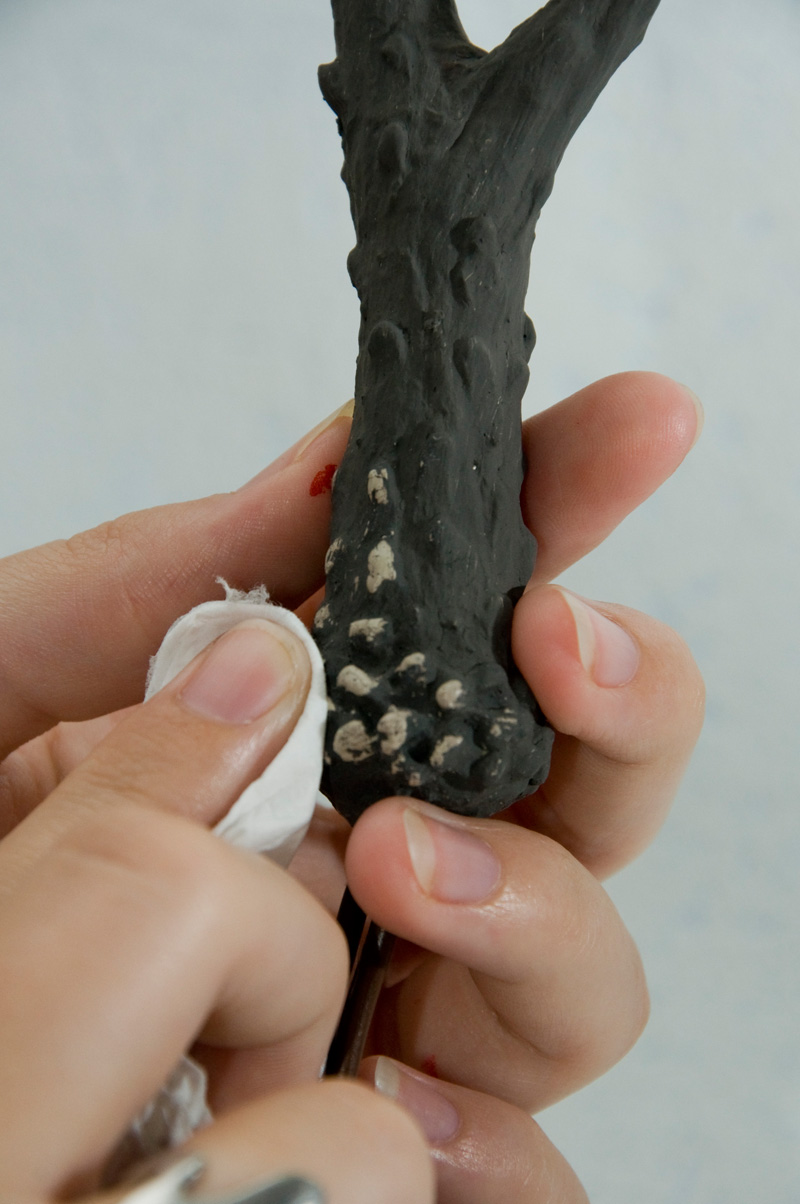
Paint the whole thing in a bone-ish colour and let it dry. I mixed ochre, white and a tiny bit of red to get the colour I wanted.

After the bone-layer has dried, paint everything dark brown. For that one I mixed ochre, black, a bit of white, a bit of green and a bit of red. Wipe the dark paint off from the parts where the bone shows through while the paint is still wet. Just imagine how the deer basically does the same by rubbing his antlers against trees and fighting with other deer ;) Just don’t take away too much of the brown.
Now the last step is to give your antlers a protective finish. If you are using water soluble paint, try to be careful when applying the first layer of varnish. I used a matte one, but my antlers still ended up being too glossy, so I put a bit of face powder on top of the finished antlers.
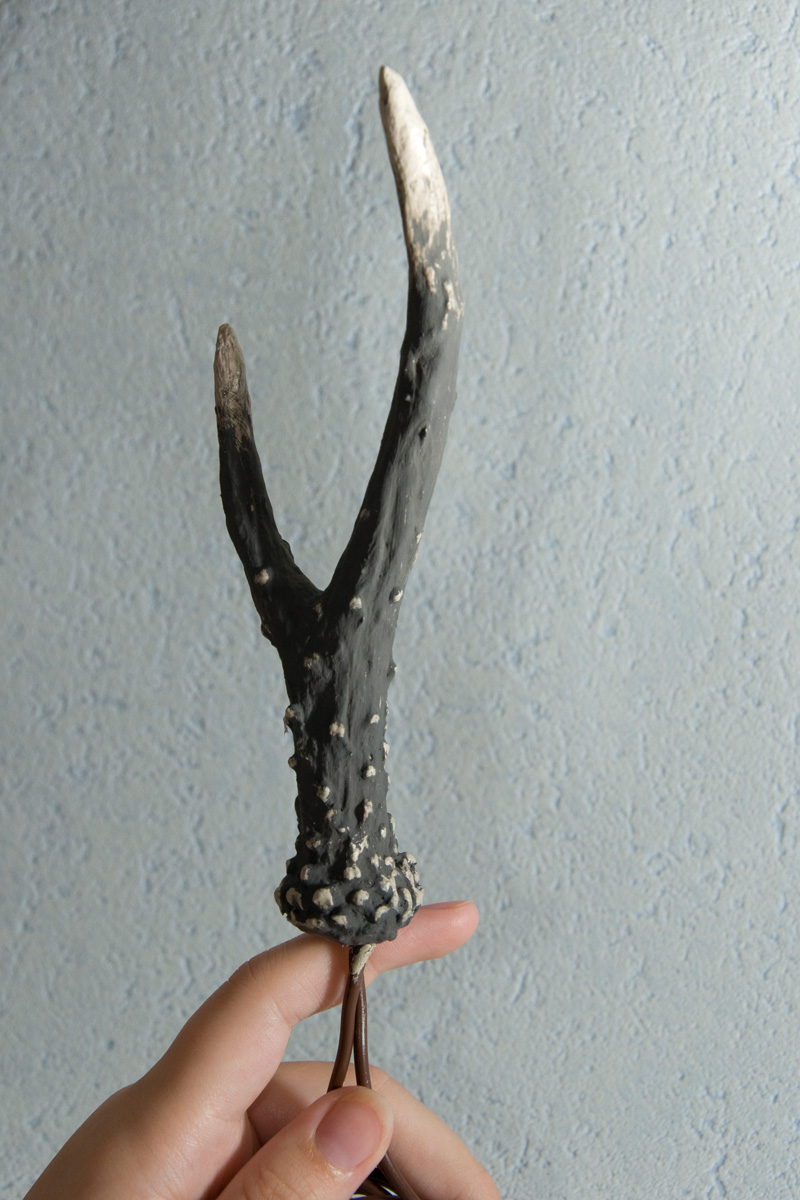
I somehow forgot to take a picture of the completely finished antlers, so here they are pre-varnish.
Tadaaa, you are done!