
Category Archives: DIY
Unpolitisch sein …
Jetzt auch als T-shirt! Mit Bleiche. Silberglitterndes Experiment.

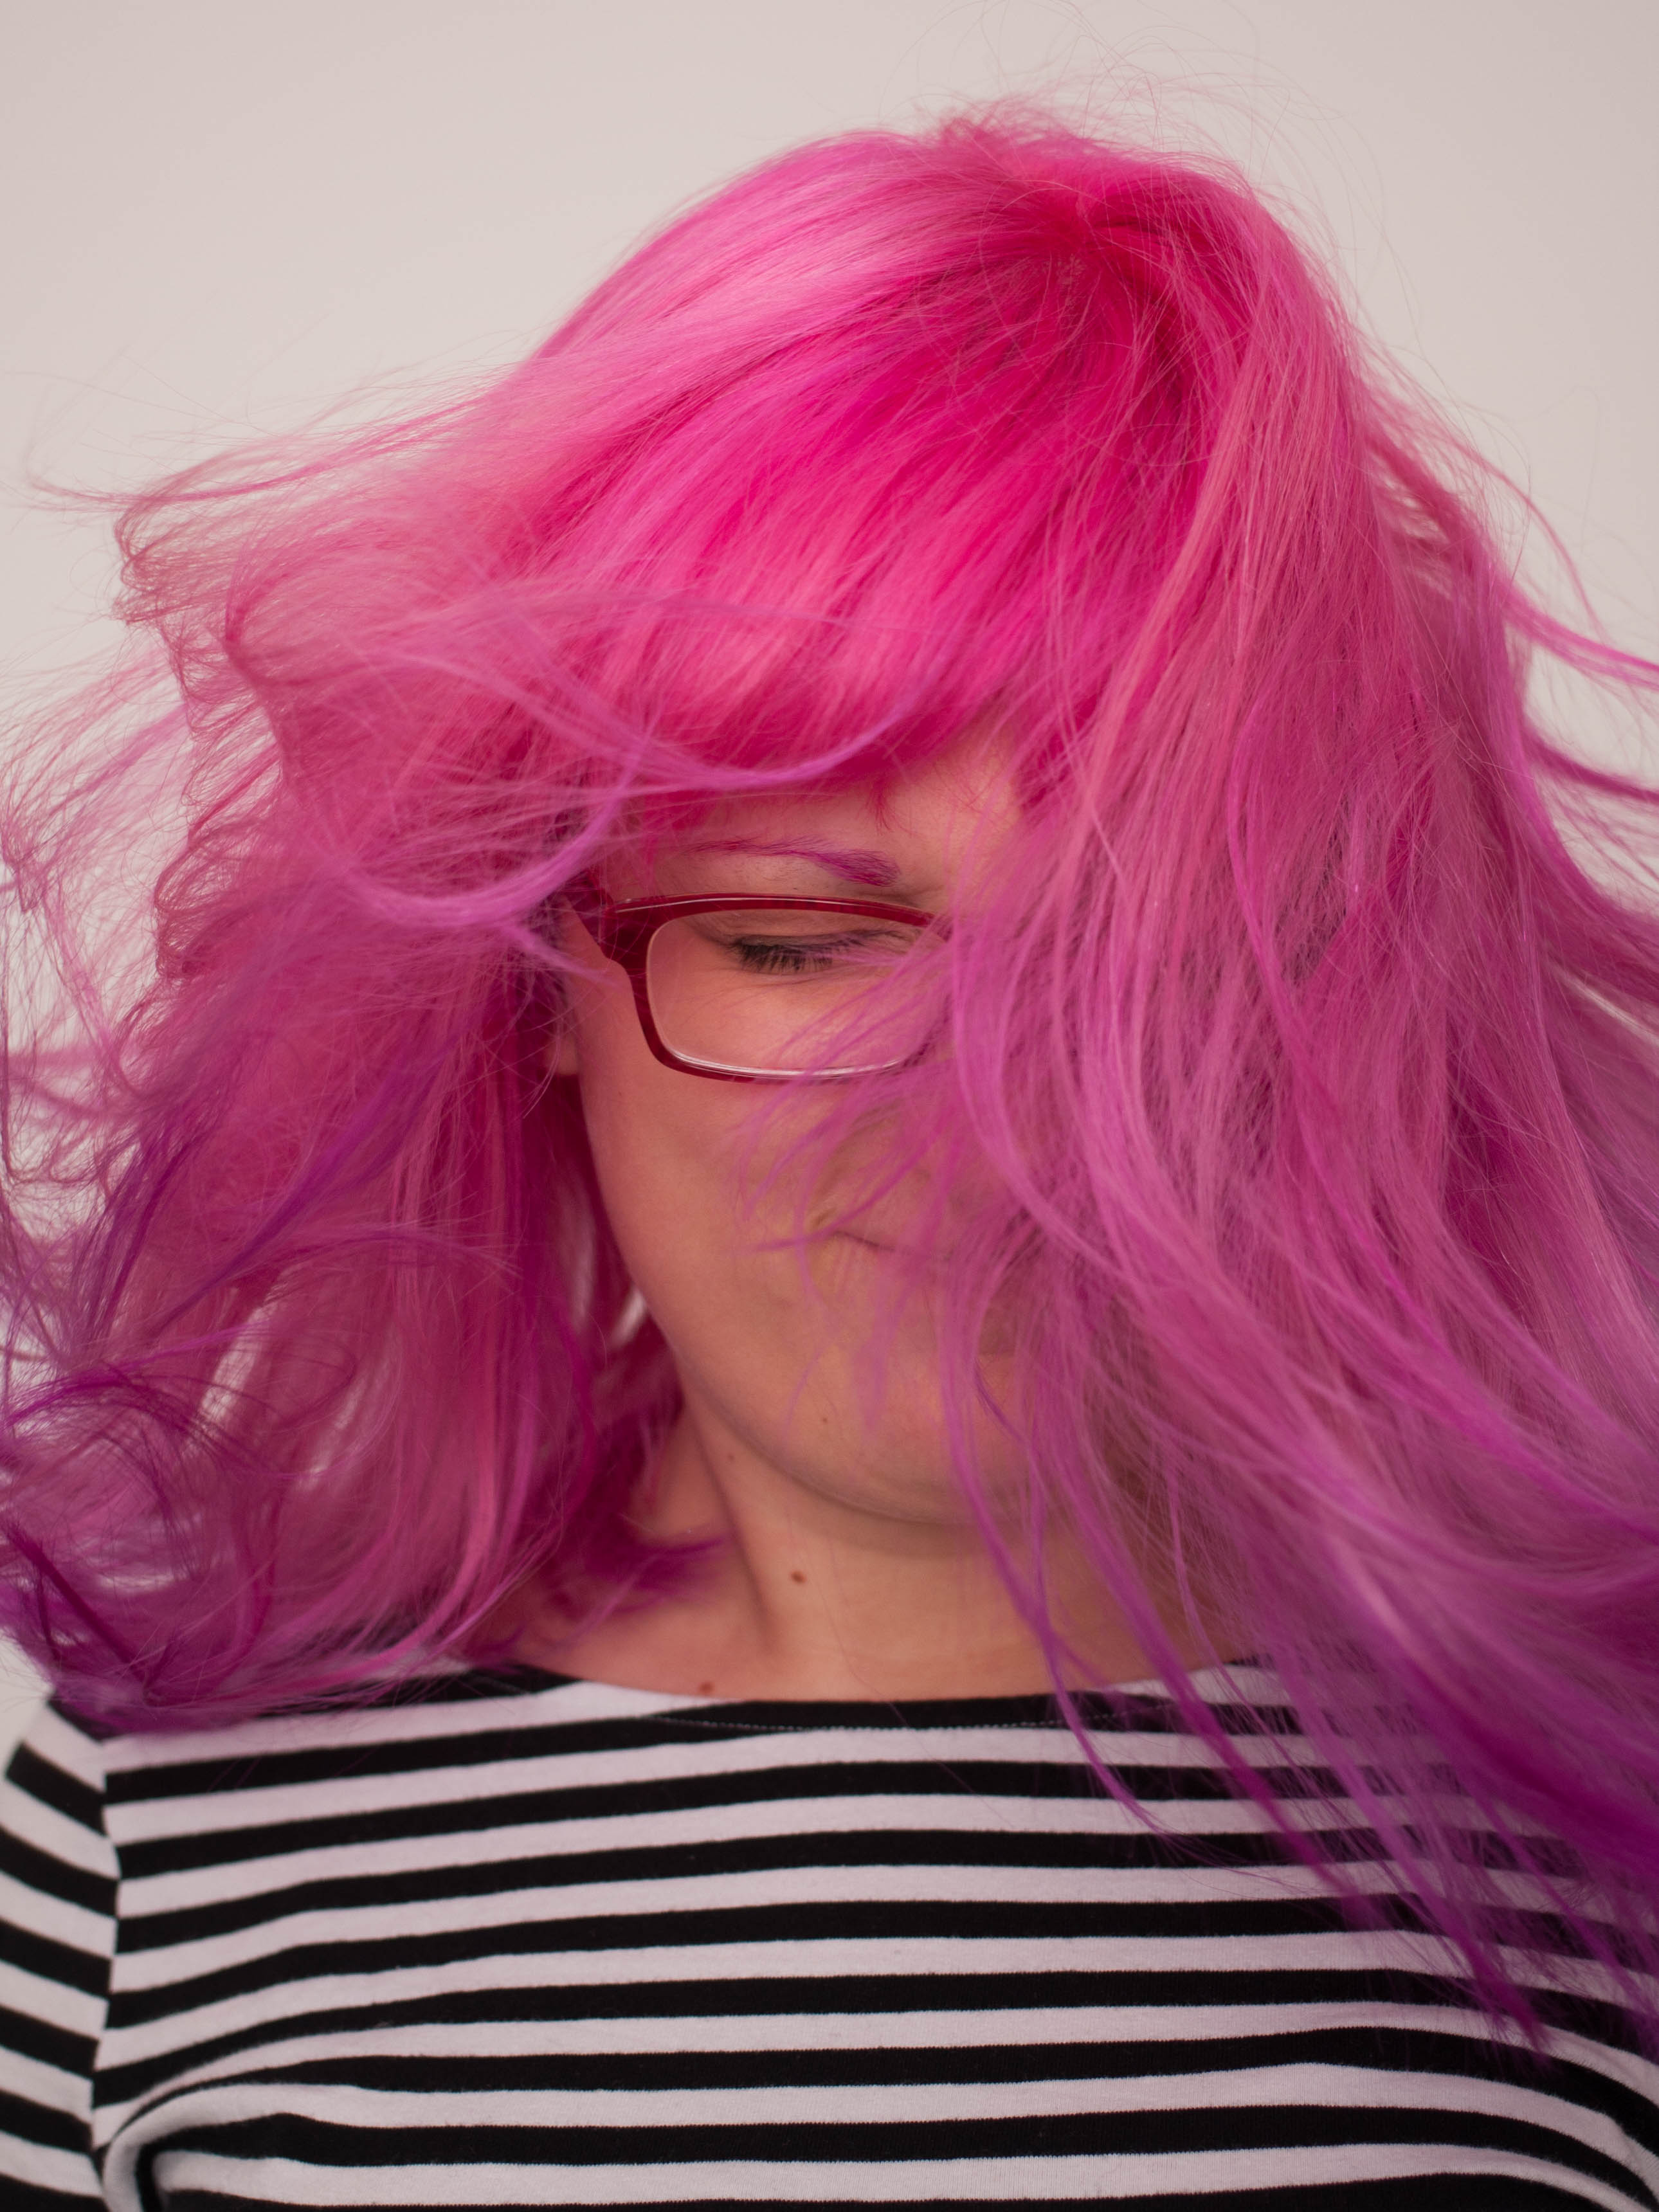
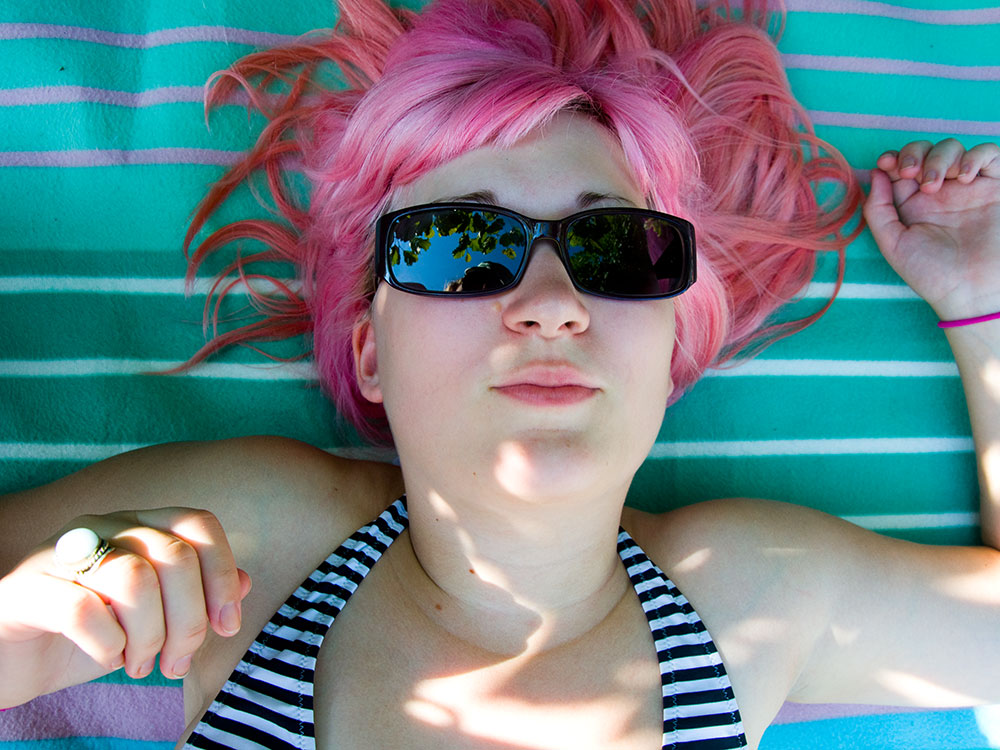
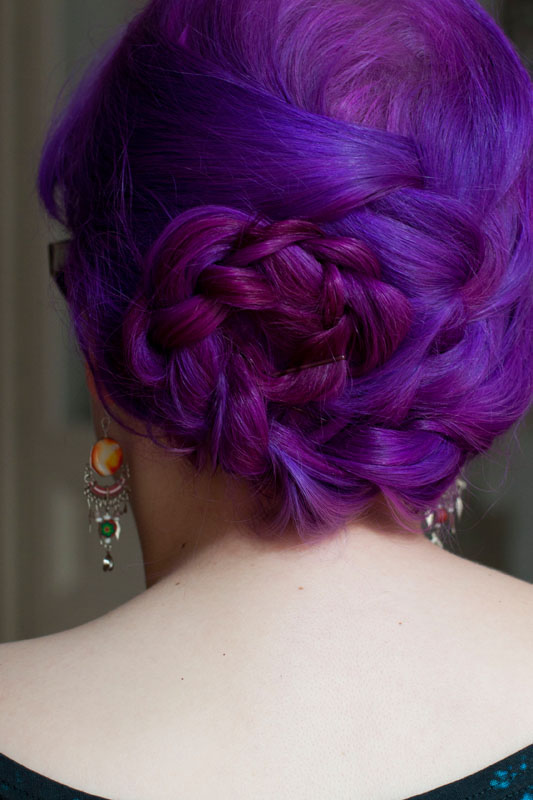
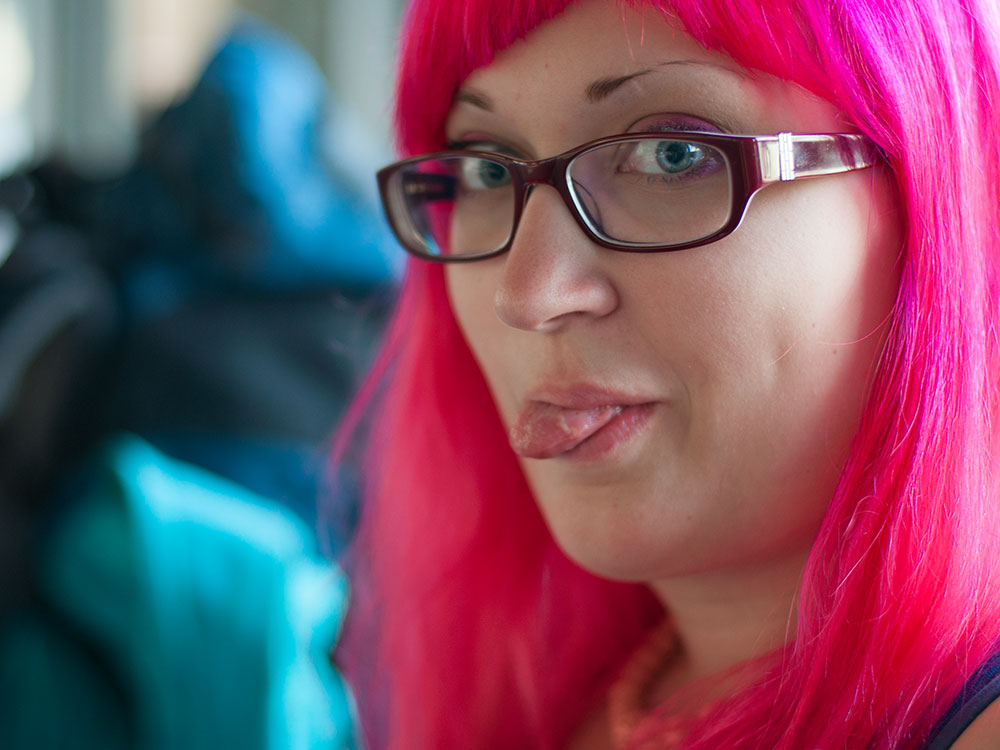
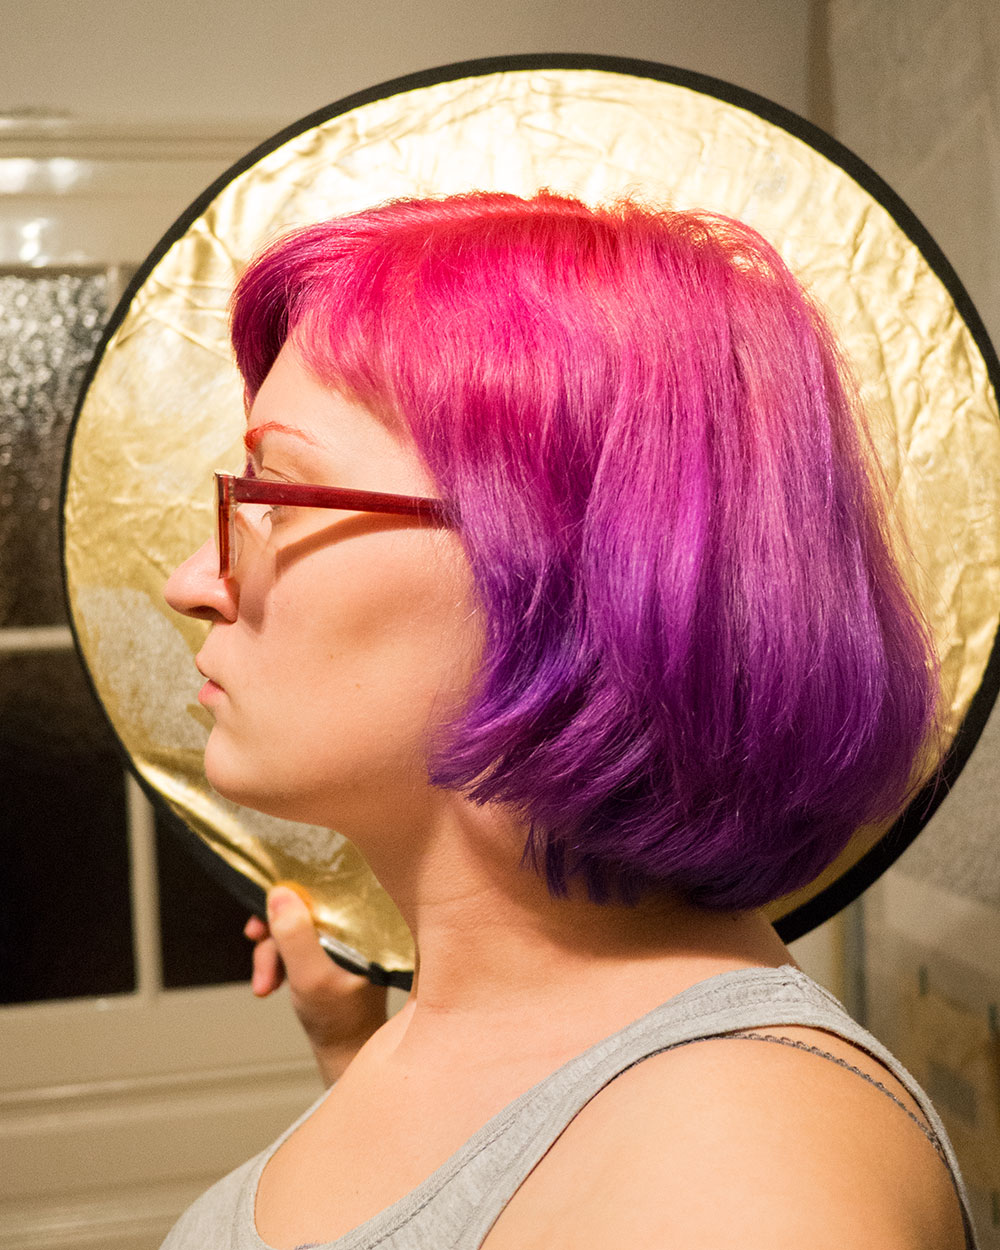
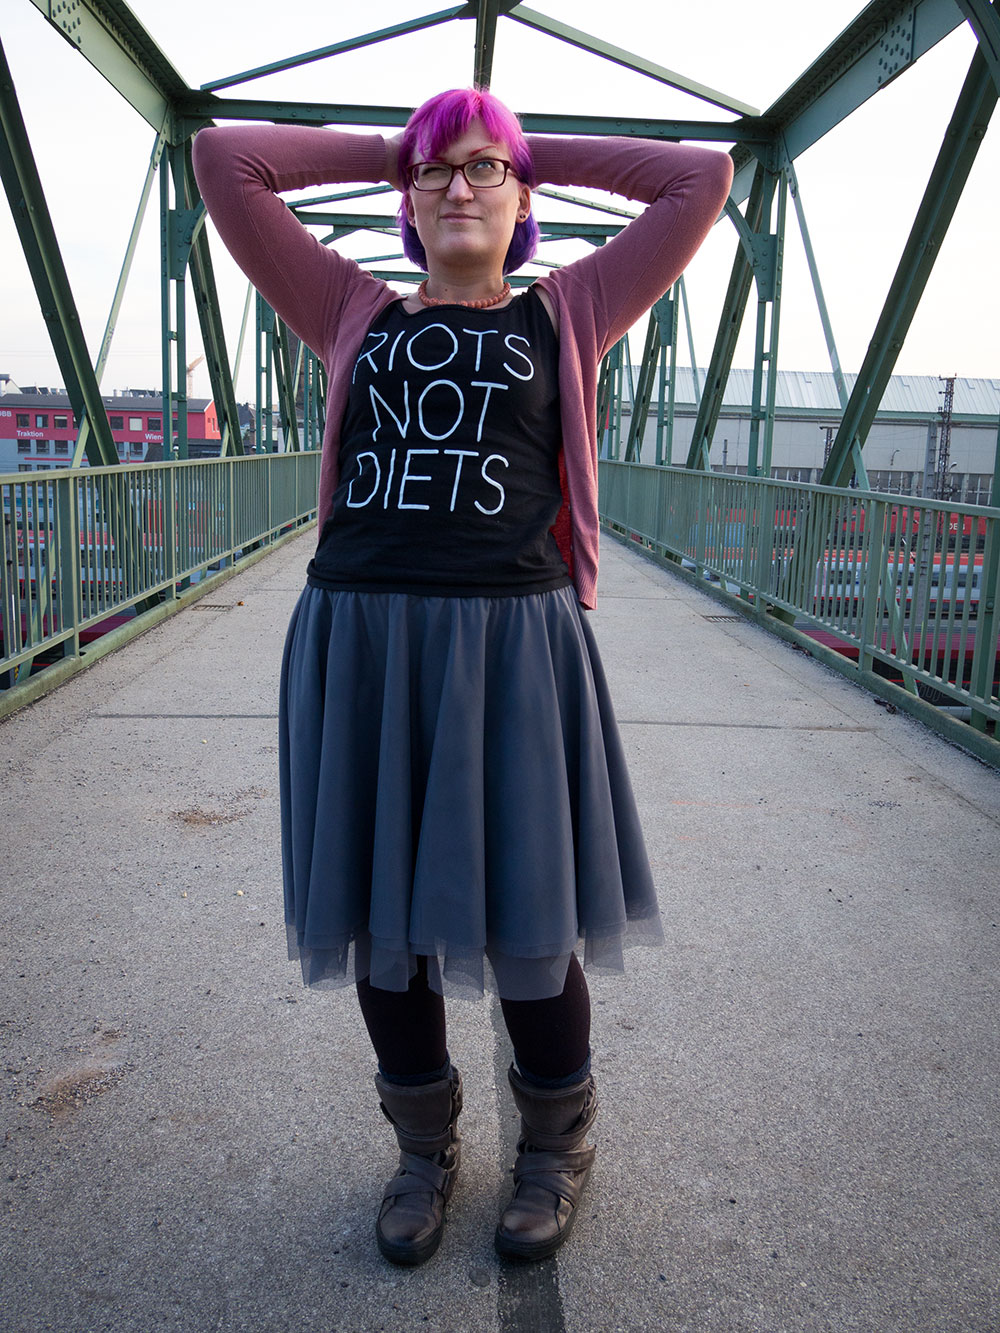
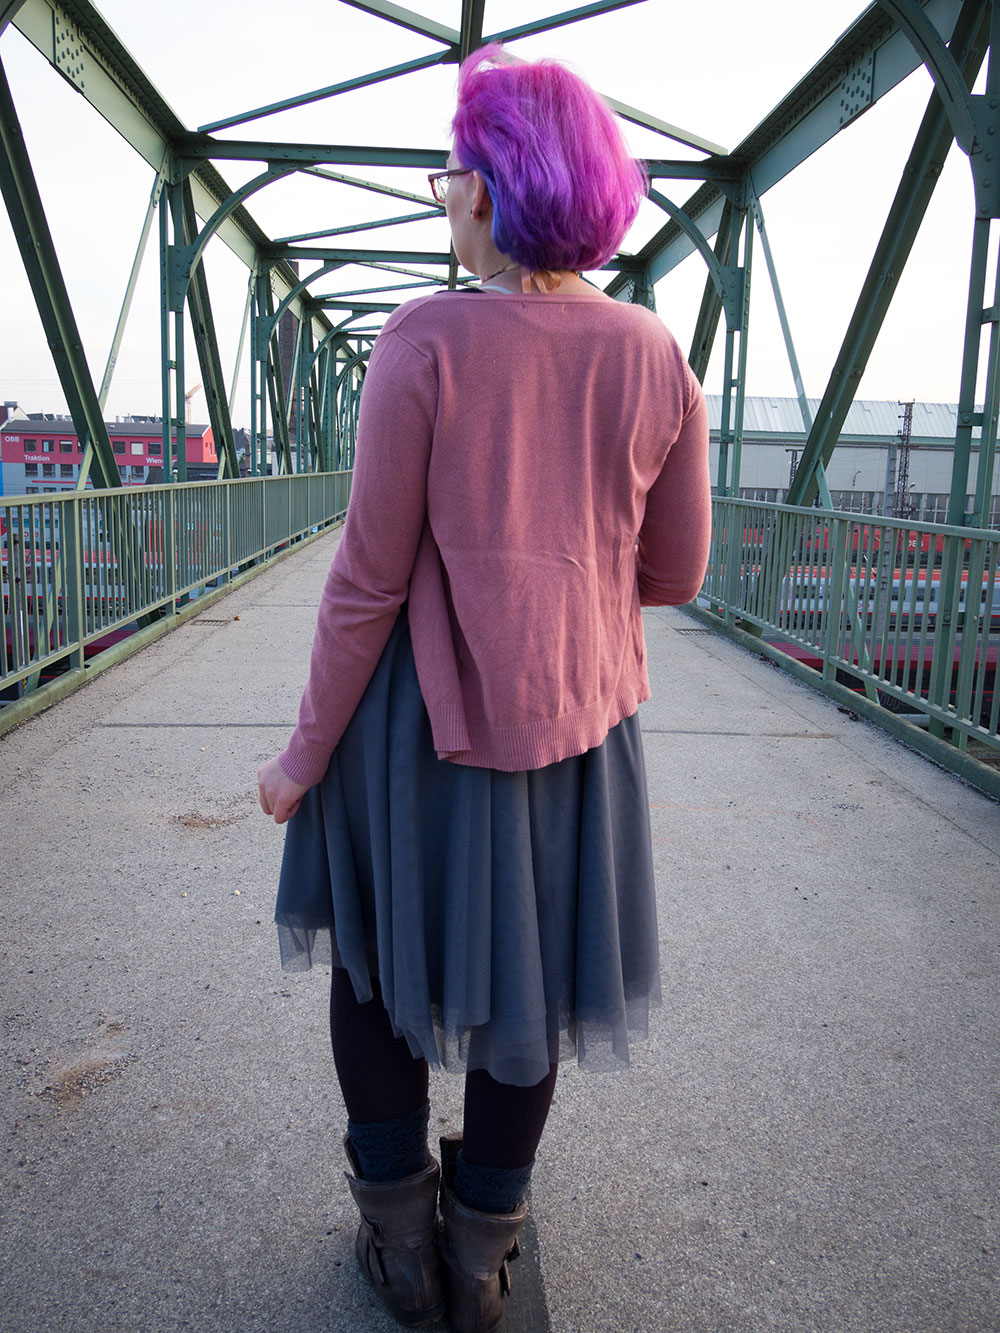
DIY rainbow hair
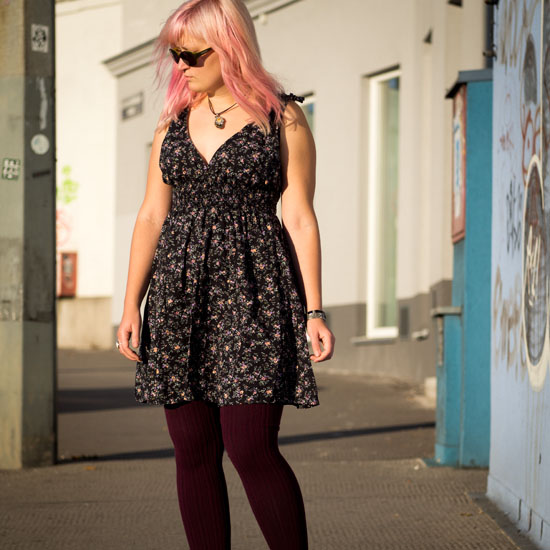
Let’s talk hair for a moment. In the last 13 years of my life, I have worn almost every shade from cotton candy pink to dark blue. Everything except red, I think.
And I have always dyed my own hair (often with the help of various friends) for a number of reasons, so I am asked rainbow-hair-related questions a lot. Because of all this, I have been meaning to write a post about this whole business forever. So here we go: This is the DIY guide to rainbow hair :)
Okay … My hair was way longer back then.
When I’m talking about hair dye, I am talking about rainbow hair – “rainbow hair” refers to unnatural/neon colors in general, not necessarily to an actual rainbow. And it usually implies semi-permanent dye products such as Special Effects, Manic Panic, or Directions brands (As really bright colors are not available as permanent dyes). So now that we have established what we are talking about, I will tell you what I am usually doing to my – and sometimes my friends’ – hair.
Please bear in mind that this series is not so much a tutorial on how to dye hair, but rather a collection of all the things I learned about dyeing hair with semi-permanent colors. I tried to answer all the questions I have been asked by people who never spent a second thought on their hair care routines. I did my best to write down everything that’s usually not part of the tutorials flying around on the internet I wish I had known ten years ago. Apparently that’s quite a lot …
The 6 individual hair dye tutorial posts:
- Bleaching – The Basics
- Bleaching – Instructions
- Bleaching – Tips and Tricks
- The Hair Dye Post
- What Else to Dye?
- Taking Care of Rainbow Hair
But let’s discuss a few basic things first.
I love colors, but I’m also quite determined to be able to pass as an adult when I need to, so this generally is the direction my hair adventures are leading these days. When I was an actual teenager, I donned fuzzy neon-rainbow non-hair-styles quite often, and I think that by now I am done with this phase.
Having rainbow hair is great, but looking like a mop is really not what I want anymore. As I’m more of an all-or-nothing kind of person (As in … Everything that is worth doing in the first place, is it worth doing well) this generally means that I will bleach the roots and touch up on the color at least every four weeks, and just try to keep it in a reasonable state.
For hair that is getting the treatment mine does, that mostly means not looking like a bundle of straw a unicorn had puked on. If that’s what you’re going for that’s fine though. It actually sounds like it would work as an ironic twist on the current unicorn hype, and also like someone should hurry and add some glitter … but I digress.
The Downside
It’s worth mentioning that constantly keeping one’s hair a proper neon shade is somewhat annoying, so I thought I’d let you know before we start all of this. You absolutely do not have to bleach and dye your hair monthly, your requirements for that also depend a lot on your personal preferences and hair care routines, style, and potential dress codes for a school or job.
In the end it’s your body, you’re an adult, so do whatever you want (and can get away with). I do have a job and things like that and I have found having rainbow hair is not a big problem really – as long as it’s well maintained. I guess this is one of the privileges of working in a creative field, but so far people could not care less if the head sticking out of my suit came with blue, pink, or purple hair.
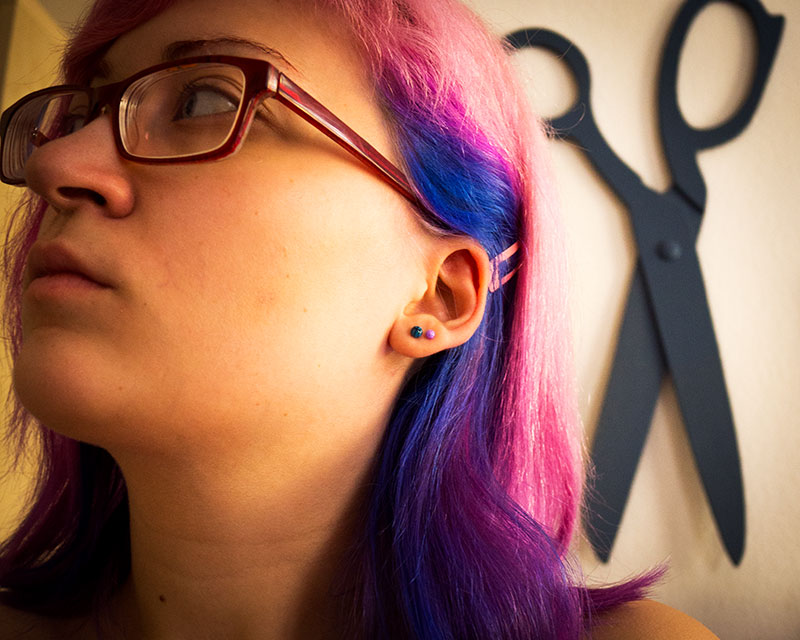
Disclaimer: I am not a professional and everything I have to say about hair (dye) comes from my personal experience. At the time of writing this post, I’ve been sporting neon hair for almost 13 years. This means that at this point I know what works for me and my hair very well, and I also know how to destroy it beyond repair. *sigh*
But please be aware even though I have plenty experience now, and I’ve helped many others do their hair throughout the years, your experience might vastly differ from mine. If you follow my instructions, you do so at your own risk.
Language As about half the people asking me about hair tips don’t speak German, I decided to write this post in English. If you feel it should be available in German as well, and you want to translate it, shoot me a message.
Bleaching – The Basics
I will guide you through the whole process of getting rainbow hair, but please have a look at the whole series of posts before actually getting started on your hair. The posts are organized by topic rather than true step by step instructions. But first things first:
Do I need to bleach my hair?
There is not an right answer to this question, but probably yes.
If you have really light hair, maybe you can get to your desired color without bleaching first. The darker your desired color is, the more likely you are to get away without bleaching. It is impossible to get to a really bright color if you are not starting with white/bleached hair. Bleaching will almost always make your hair take in dye pigments much better, which means brighter colors that last longer. But as always, I think the easiest way to find out is to test it on a strand.
Bleaching, the Basics
I’m mostly shopping for my hair stuff at ROMA, a chain selling professional grade hair supplies. I’ve always been living close enough to one of their stores, so I have been buying their bleaching products since I started the whole rainbow hair thing.

My hair before bleaching.

And after.
A word of warning: I have bleached hair in the United States once, and how they label bleach volumes there seems to be different from Europe. Not sure why or how (It’s been a while), but they were labeled differently. So if you’re not in Austria (like I am) please be aware that there can be regional differences in how the products are marketed/labelled – So read the instructions of the products you actually want to use first.
This is not to say that bleaching your hair is dangerous or something you need to be afraid of. Just be aware that it is damaging your hair, no matter how gentle your or your helpers or hairdresser are. Bleaching, in the end, is the process of intentionally destroying your natural hair structure.
Bleaching, the Process.
I’m using a two-part product, consisting of hydrogen peroxide (A liquid that is about the consistency of shampoo) and bleaching powder. The peroxide is available in different strengths, or volumes, and the bleaching powder is the same for all of them. Where I shop you get the peroxide in 6%, 9%, and 12% volumes.
When mixed together, the chemicals start reacting: This reaction is what bleaches your hair. The reaction stops at some point, so if you take more than half an hour from combining your chemicals to finish applying the mixture to your hair the reaction time might become a problem. If you think you need more time, just work in batches and take your time.
The first factor to consider is your hair color: Mine is a dark blonde, so I use 6% peroxide for myself. This is the weakest peroxide option one can buy here. For darker hair you need stronger volumes, and you also need to be more careful about damaging your hair and skin.

This is a friend’s hair before bleaching, his hair is almost black.

And after – he uses 12% bleach and his scalp is not particularly happy about that.
If you are not sure about the right product, I would suggest doing a test run. Take a strand of hair and try the bleach on it to see what it does, and if you’re happy with the outcome. Seriously. If you’re bleaching your hair for the first time it’s safer to waste an hour or two on a test run than to potentially fry all your hair. Be aware that a higher volume bleach also means it is more irritating to your skin, so if you have sensitive skin you might want to consider that as well.
You want to use the least aggressive product that gets the job done – and that depends on three factors: The first one is the hair color you’re starting from. The lighter your hair is, the easier it will be. Really dark hair, or hair that already is permanently dyed is harder to bleach.
The second factor is the hair color you want to reach. When bleaching your hair, it will first go orange, then yellow, and then eventually it will become white (actually, it will rather be a really light shade of yellow). If you want to dye your hair hot pink, red, orange or some other color that already has a lot of yellow in it, don’t worry about getting your hair white. For my regular pink and purple shades, I usually don’t bother and just bleach to bright yellow. This is also true for most shades of green, as green is made by mixing blue and yellow, so starting with yellow hair is fine (orange is a problem). If you want light grey or lavender tones, or anything blue, you want to get your hair as white as possible. If you want to go bright orange, on the other hand, you can start from an orange shade just as well.
And third is the structure of your hair. Regardless of the hair color you are starting with, thick, coarse hair is usually a bit harder to bleach – especially if you have a lot of hair.
Just don’t rush it when bleaching your hair for the first time. Take your time to figure out what works for you. Write down what works best, so you remember for the next time.
Bleaching – Instructions
Too many words! I want to start!
You need a bowl, a hair dye brush, a kitchen scale, and protective gloves. Read the instructions on the packaging, and be careful to not get any of those chemicals into your eyes. I have a glass bowl that I always use for my hair products, and I use plastic hair dye brushes (Along with some smaller painting brushes for details). You can use whatever you want as long as nothing used to mix and apply your bleach has any metal components – metal can interfere with the chemical reaction. As this is most convenient, I usually mix my bleach by weight.
Stains and Spilling: Prepare your working area before getting any of the chemicals out. The bleach tends to spill and splatter around, so do it somewhere this isn’t going to cause a problem. It’s probably obvious, but don’t wear anything you do not want to get bleach stains on either.
Now mix your bleach:

Bleaching supplies.
I buy the basics in bulk, so I have big bottles in all the volumes, and big boxes of bleaching powder – you will probably get smaller packages but the basic idea is the same.
The example “recipe” here is for 60g of bleach, because this is how much I usually make to bleach roots, which is what happens most often. If I only have a month of growth, 50g are usually enough. If the hair hasn’t been bleached in 2 or 3 months you will need more, but don’t worry too much. It’s very easy to just mix more bleach when running out. When bleaching a whole head of hair, you have do adjust the amounts accordingly. Short hair usually doesn’t really need more bleach than a roots-only treatment, but bleaching longer hair can use up a lot of product.
This is how I mix my bleach
(if you are using a different product follow the instructions it comes with):
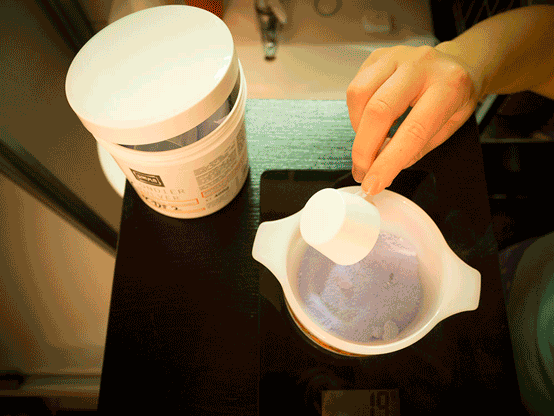
- Put your bowl on the scale and turn the scale on;
- Pour two parts peroxide cream in your bowl (here that’s 40g);
- Carefully add bleaching powder (here, that’s 20g);
- Mix the two components together slowly. The powder is really hard to contain, so please be careful;
- Mix until it’s a homogenous paste;
- Now the reaction has started and it will be bleaching for about an hour or so. The bleach paste starts to puff up a bit at some point, and this is what it is supposed to do.


And that’s how the bleach mixture looks when it’s ready to use.
The first step after mixing is to apply your bleach to the roots. Try to really only bleach the roots, as bleaching your hair more times than absolutely necessary really just damages it. If you only need to bleach your roots, you can skip the next part and put on your shower cap now.
A little tip: bleaching the roots once a month (and not only every 3 when there is a lot of new growth) is actually much easier.

Applying the bleach to my roots.
For the second step, after the roots are done, you work the goo into the rest of your hair. Make sure that the hairline and all the edges are covered with enough bleach it won’t dry out too early.
There are plenty videos on how to apply hair dye or bleach, so I won’t explain this part here in great detail. You start with dry or damp hair: Some brands come with specific instructions, others do not. I generally put the bleach on dry hair, but I always dye it whilst still damp.

That’s what it looks like with the bleach in. Not very spectacular.

Shower cap!
Then put on your shower cap and just wait until your hair is as light as you want it – or until the bleach stops working. Check your product’s instructions for exact times. After that, thoroughly rinse and shampoo your hair. If you want to dye it right away, you can do that – in this case better use some silicone-free shampoo to rinse out the dye. If you don’t, now is the time for conditioner and/or a hair mask.

That’s how my hair looks after rinsing.
Troubleshooting/Things to watch out for
If you want to bleach more than just the roots (usually you would only want to do that if your hair is not bleached at all yet, or if it is dyed already), I suggest mixing the bleach in batches to make sure you have enough time to apply it. Properly adding bleach to the roots takes a while in the beginning, so do that before you mix the bleach for then lengths. Again, short hair is the exception: You can just mash the bleach in like you would do with shampoo.
There are two things you really need to know about bleach before starting: It only works as long as it is wet, and heat boosts the process.
Keeping the Hair Moist:
This is especially problematic with short hair. If you have really short hair, it will likely dry up before the peroxide has done it’s magic. But even if you have long hair, the tiny hair around your face and where your hair is parted tend to dry out before it’s done. The best solution for this problem seems to be a reusable shower cap – tinfoil or saran wrap work too, but they tend to tear, and move, and make the worst crinkly noises. They also tend to come off at the edges, which is where you need them most.

If the edges dry out early, that’s what happens. We did it on purpose for this tutorial, but you can get dry spots everywhere along your hairline
Keeping it Warm:
Shower cap! Put it on after applying the bleach to trap body heat. This is mostly relevant for really dark hair that is hard to bleach to begin with. But generally it is just a good idea to put on a shower cap to keep the bleach contained underneath it, and not have it dry out prematurely. But do not use a hair dryer or other external sources of heat at this point.
Tadaaa. This will solve almost all of your problems.
Bleaching – Tips and Tricks
This post is for people people who are starting with dyed hair. I don’t have much experience with bleaching out permanent dye products, and they do behave come out a lot harder than the semi-permanent dyes.
If you want to dye over another color, it will probably not be necessary to get all your hair white (again). If the old, faded color is close enough or contained in your desired new color, don’t bother bleaching it out. Just take into account the dye that is already in your hair when mixing/choosing a color.
My hair has been dyed so many times, this is the “completely bleached out” state.
What works? There will be variation depending on how bright and “pure” your desired color is, and how much already is in your hair. The lighter the color you’re starting with is, the easier is it to have it work with whatever you are putting on top of it. Also, with each dyeing step your hair can only get darker, so you can’t start with a hair color that is darker than what you want to get in the end. I’ve summarized this in the graphic below:
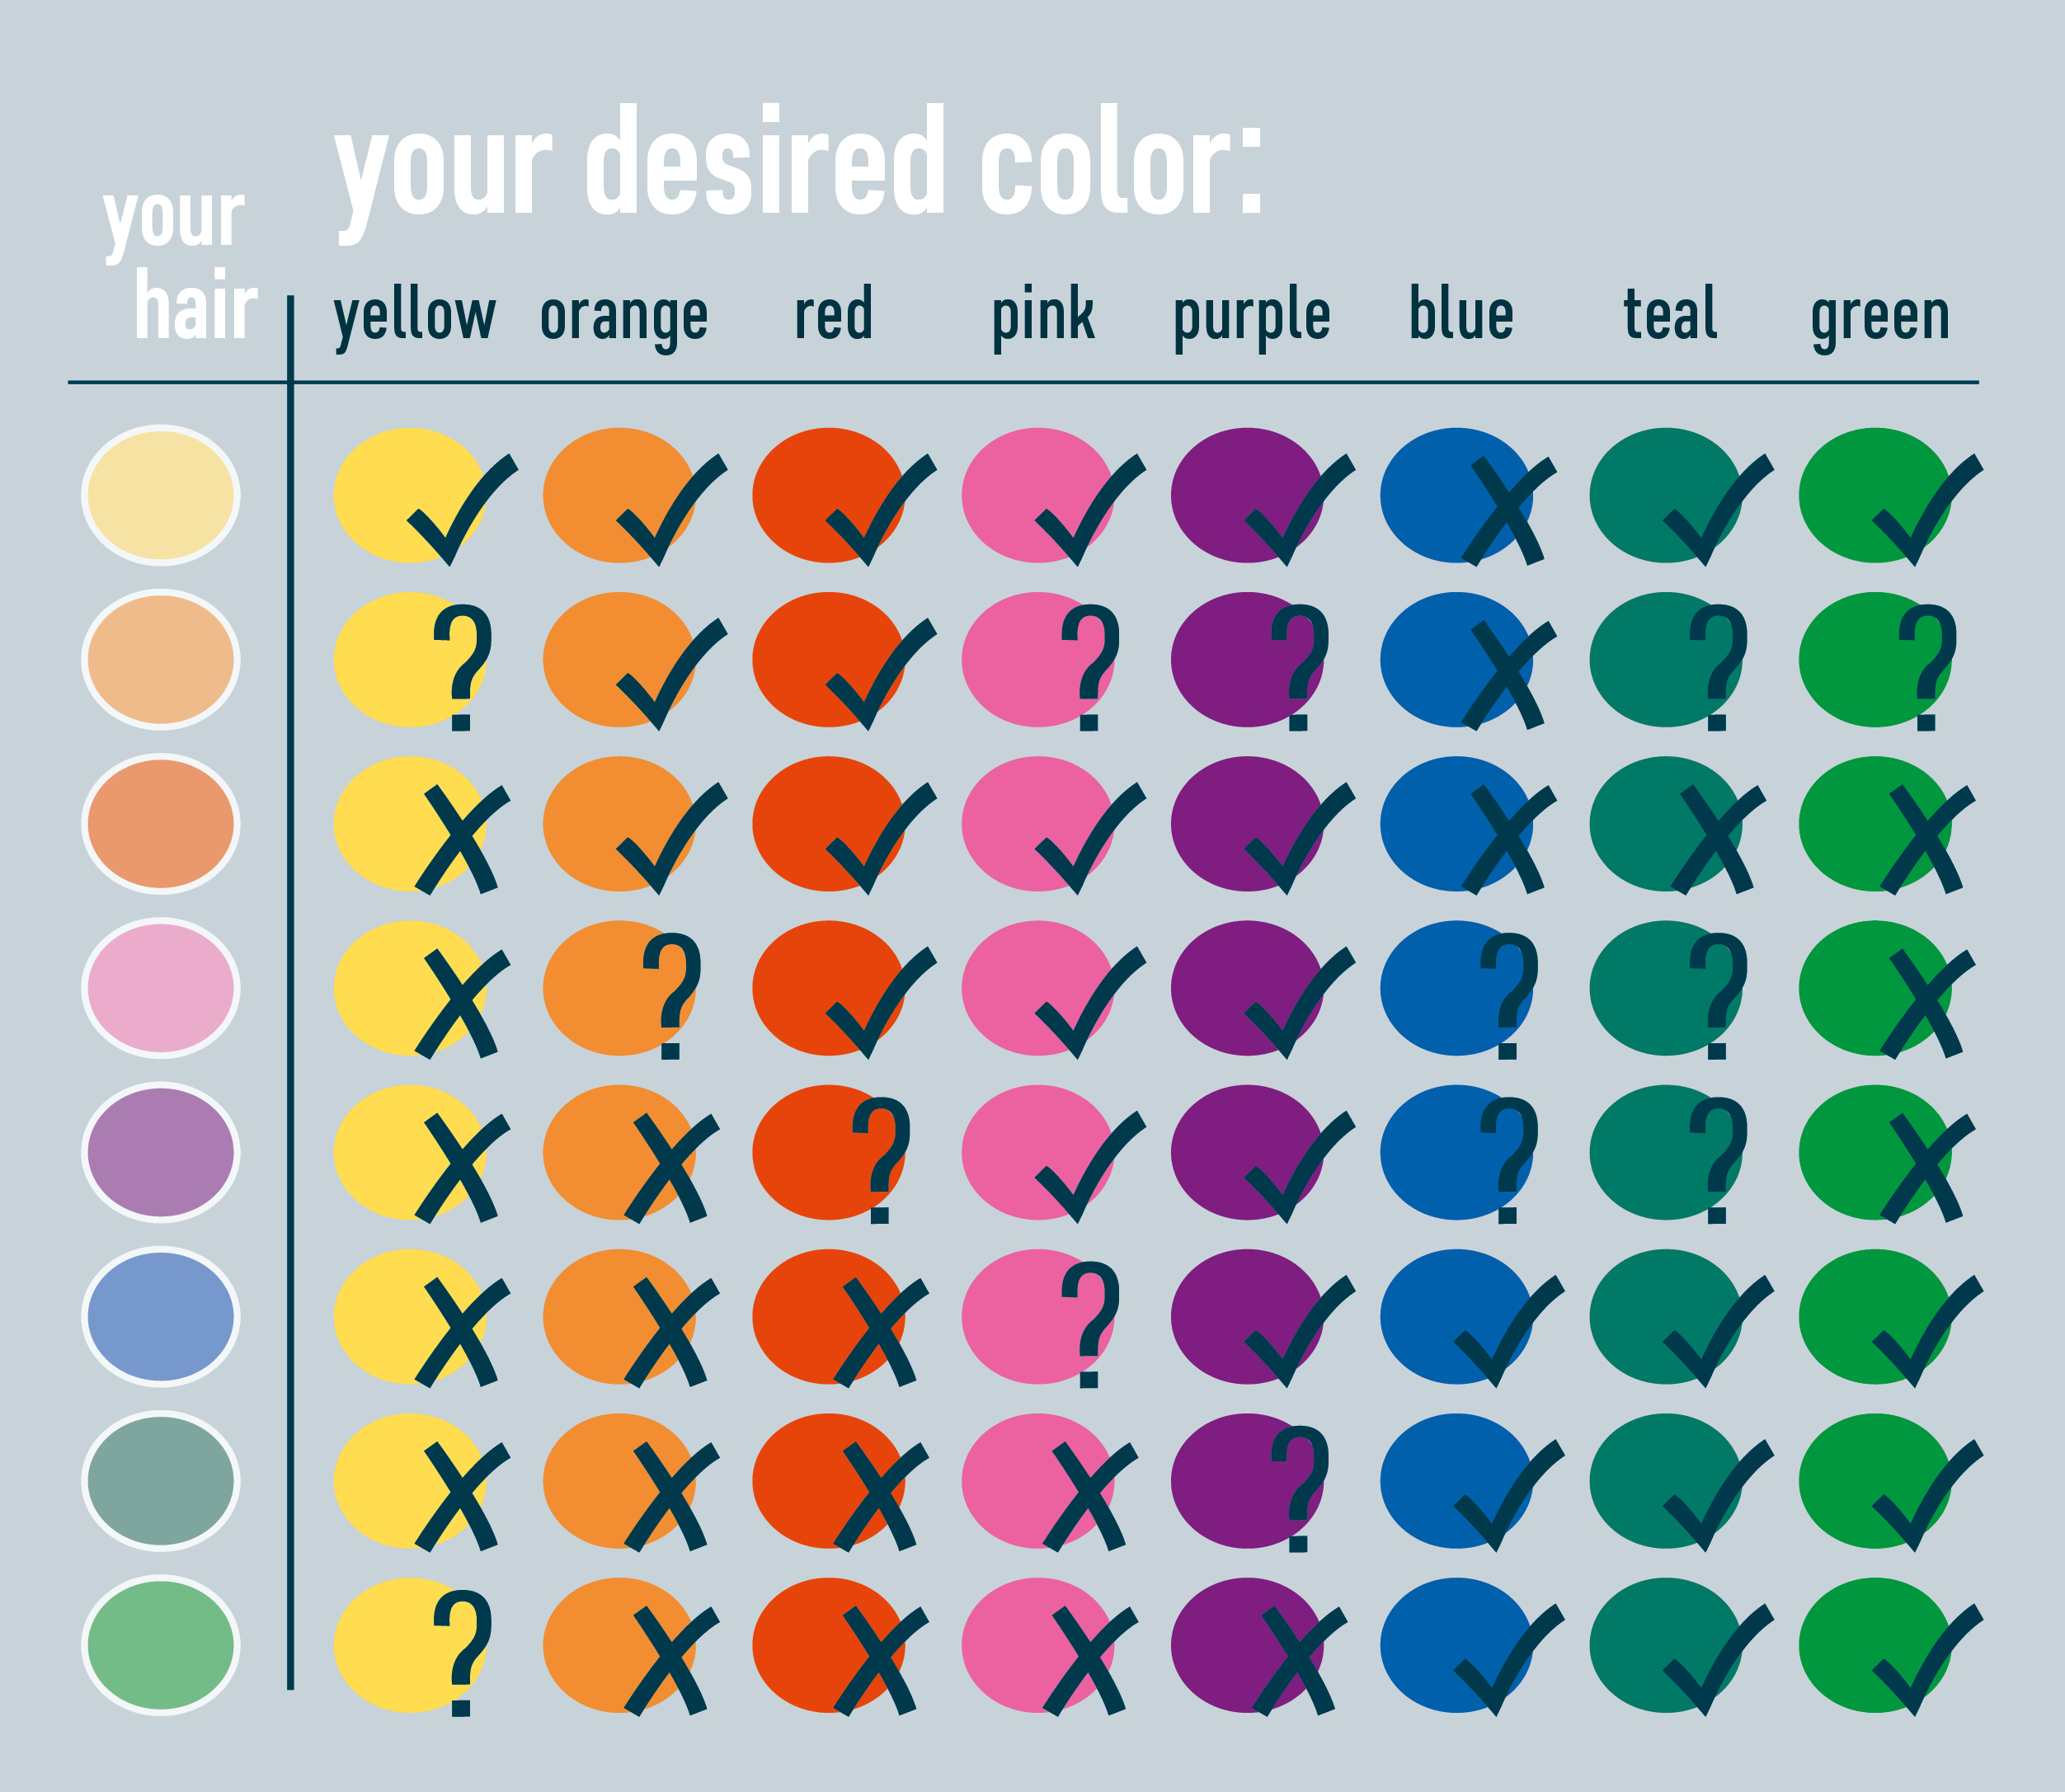
Click to enlarge the picture
On the left is the color you are starting with. The lighter it is, the easier it will be to make it work with your desired color. In the graphic, a check mark indicates that if your hair is faded enough, and you put the new color on top it should work. If a combination is crossed out, you probably need to bleach your hair to transition from your current color to the one you want. A question mark means that it can work, but it might not – depending on the exact shade/intensity you want to reach. Use your own judgement, as you probably know best which color(s) you want to end up with.
Getting rid of your old color
Be aware that even semi-permanent dye rarely washes out of your hair entirely. If you lightened your hair before the dye job, or if you have light hair, there will probably be color residue that will not go away by itself. Depending on how much dye you need to get out of your hair, you can either bleach it out, or try getting the job done without bleaching.
No bleach
A lot of the time it is enough to wash your hair several times so the dye fades enough to just put your new color on top of it. Try using anti-dandruff shampoo for this, as it draws a lot more dye out of your hair than regular shampoo does. This effect has to do with what it does to the scales around your hair, and how the scales enclose the dye pigments.
Bleach bath
In most cases, it will be the best (and less damaging) solution to do a bleach bath rather than full on bleaching your hair. Bleach bath here means using a mixture that is half bleach, and half shampoo on damp hair. The more shampoo you add, the more diluted the bleach will be. Adding the shampoo, and applying it to wet hair rather than dry not only makes this solution a lot easier on your hair, it also takes less time and effort to do it.
In this approach, after the old dye is out you can bleach your roots as usual.
Bleaching
I never had to bleach semi-permanent dye out with more than a bleach bath, but if you feel the need to just follow the directions in the bleach post. This is also how you can get rid of permanent dye, but be careful not to completely destroy your hair.
General rule: If you want to bleach dye out of your lengths, start with the lowest volume you can get away with, and leave it in as short as possible. Or go to a swimming pool. While this might sound like a joke, it is actually a great way of getting semi-permanent dye out of your hair. And it’s fun.
How to care for bleached hair?
As bleached hair is damaged already, it needs to be pampered – and that starts with the bleaching itself. I always try to make sure my hair is slightly greasy before bleaching. I only wash my hair twice a week, so I try to do all bleaching on the fourth day after washing. This really goes a long way towards keeping the scalp happy and healthy. Depending on your schedule, it might also help to do a very rich hair mask to prepare your hair for bleaching.
You will need to use conditioner on bleached hair, otherwise it will look like straw – and not in a good way. I usually use a rinse-out conditioner after shampooing, and depending on my hairstyle I apply leave-in conditioner or hair oil after towel drying my hair.
You also need to be gentle with bleached hair when it’s wet. I always thoroughly brush it before washing, and try to handle the wet hair as little as possible – at least before I add the leave-in oil/conditioner.
The Hair Dye Post
First: Rainbow hair dyes only come as semi-permanent products. This is why I am talking almost exclusively about them in this series. It also means that bleaching and dyeing are two separate steps, and the dye will fade out eventually – much in the same way bright cotton fabrics fade after a few washes.

This is our current stash of hair dye ;)
Stains and Spilling: Semi-permanent dye usually comes out of everything. They remain on hair and fingernails, but otherwise you can easily get rid of stains. At least for all the brands I’ve been using you do not need to worry about staining your clothing at all as everything will come out in the next wash without a problem. They do permanently discolor wood and some porous plastics though.
Brands of hair dye
I have used a bunch of different brands, and I have a clear favorite. But as people keep asking, I will add my two cents on the I have tried so far:
Alfaparf Revolution
(used to be Jean’s Color before the re-branding)
That’s what I usually put into my hair
What: This is by far my favorite hair dye. When I learned that they discontinued it a little while ago I almost cried (Yes. Erm. I know I usually don’t have any feelings, but I love my paints and dyes …) It turns out they were only relaunching the product, so it is available under this new name now. I’m not in love with the fact that it now comes in tiny tubes rather than the big bottles. It also got much more expensive, but they do have blue and green again (the blues and greens had been discontinued years ago). It comes in a relatively small range of colors that you can mix yourself: I guess this has to do with the fact they are targeted more towards professional users.
Use: This product smells amazing, is easy to apply, has a really nice consistency and lasts the longest.
The green behaves really weirdly though. You cannot get green hair just by using the green dye and I haven’t fully grasped the idea behind that specific color yet. If you want to have green hair, you have to mix blue and yellow. The actual green dye seems to exist solely for toning down other colors. In any case, they have a mixing chart available online and I highly suggest looking at it before your shopping trip – your knowledge about theory of colors does not really apply to this range as the green will simply never turn out to be a proper green.
Special Effects
What: This brand comes in a lot of colors, and they have neon glow-in-the-dark shades. I think this is the brand with the best colors and it is vegan, which is awesome. They also are from the US, almost impossible to buy in Europe. Special Effects is what I use when I want my hair to glow under black light.
Use: The consistency is not as good as my favorite, especially on long hair. But I think it is okay and on short hair it’s perfect. However, it lasts quite a long time and generally works well.
Manic Panic
What: It comes in a wide range of colors, even some shades that glow under black light. This one is also vegan.
Use: It is quite alright, but I don’t like the consistency as much as I like the alfaparf product and it also doesn’t smell as good. It lasts for a long time and the cover is good.
Directions
What: Lots of colors, readily available almost everywhere.
Use: Nope. I know it’s widely available, but it is the worst product I have tried so far. It does not last at all and I find it horrible to use. Just don’t use it. Seriously. If you’re at the hairdresser’s to get rainbow hair, and this is what they want to put on your head – run. Seriously. People who know what they are doing would use proper dye, and this product does not qualify as such. But that is only my personal opinion (as a person with fine blonde hair) based on a lot of bad experiences. I have been told recently that there are other opinions on this product as well:
This brand seems to work reasonably well on coarse hair such as beards for some people. Hair structure does have a huge impact on how one’s hair behaves and can be treated, so maybe if you have coarse enough hair it might be worth trying. I have met 2 people so far who actually liked to use the brand on their beard and who were really satisfied with the product. This is only a very small portion of my sample, but apparently they do exist.
Others
There are plenty other brands out there, I guess it never hurts to try and see if you like them. Availability is probably the number one constraint here. I would love to try sparks at some point, but I haven’t been to North America since they started doing their thing (Just saying. If you happen to be in Canada or the US and feel like sending me gifts … :P)
Supplies
When your hair is bleached and you have decided on the dye you want to use, you’re almost ready to rainbow your hair. A short list of other things you will need before starting:
- Hair dye brush; you can get them everywhere you can buy bleach, and they are available in different sizes,
- Flat brushes: different sizes come in handy if you want to do very detailed patterns, beards or eyebrows. The kind children use to paint is perfect (just be careful to not use brushes with metal parts for bleach),
- Something to hold your dye: I find smaller jam jars work best, as it’s easy to keep leftovers for the next time,
- Conditioner to add to the dye. I use a repair conditioner (Grape-Avocado) from Alverde. It’s a natural cosmetics brand sold at DM, and I find that those work much better to dilute hair dye. Not having silicones and the like in the dye seems to make it work much better. Generally, I would not use any product containing silicones during the whole process. Everything I put in my hair in between adding the bleach and rinsing out the dye is silicone free, because in my personal experience that makes a huge difference.
Mixing colors
The instructions almost always tell you to (but I never use) pure dye. Of course you can use the dye just like it comes out of the package – then you can skip this step. If you want to mix a custom color, or add conditioner like I usually do (it is the cheapest way to create pastel colors) now is the time for that:
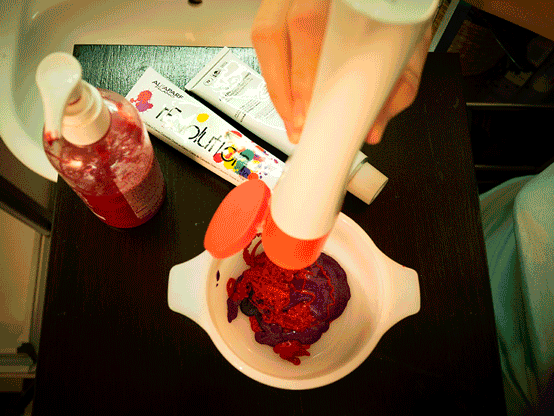
How I prepare my dye
Take your bowl or jam jars if you are doing more colors, this time we do not need a scale. Personally, I like using my trusty vintage soup bowl for the main color, and small jars for the colors I need less of.
Then add your dye – if you need to mix dyes, now is the time to get the color you want. Again, be careful here. My favorite dye brand, for instance does not work like “regular” paint. (One example are Magenta and Pure Green that, if mixed, make purple. If you ever had to mix paints in school art classes you probably know that magenta and green combined usually make various muddy non-colors, but certainly not purple) So if the brand you are using provides mixing charts, have a look at them.
When you have the color you want, you can add a bit of conditioner. This makes the dye easier to use and dilutes it. The basic idea is that more conditioner makes the dye less intensive, and different brands are pigmented differently.
I want to give you a short overview of how I mix Special Effects and Alfaparf Revolution brand dyes (as those are what I use most of the time). I mostly eyeball everything now, so I don’t have exact measurements.

- If I do a pastel cotton-candy-pink, I will often only use 1-2 teaspoons of dye per 50ml of conditioner. Be aware that you basically have to start with white hair if you want to achieve light pastel shades,
- If I’m touching up my hair, I usually use 1-2 parts conditioner to 1 part dye.
- For bright, but not particularly dark colors, I mix one half dye and one half conditioner,
- If I want to get dark blue or dark purple, I mix 2 parts dye with 1 part conditioner,
- When I dye really thick/coarse hair that soaks up a lot of product, using only very small amounts of conditioner seems to work better as you need all the pigments you can get.

This is how mixed colors look for me now.
I would love to give you exact measurements, but I don’t think it’s a good idea to do so. Depending on the texture, the amount of dye a person’s hair needs to change color properly varies wildly. The amount of bleach you need usually is a good indicator for the amount of dye you want to prepare. I think the number one tip here is to just write down what and how much of it you’re using until you get a feeling for it. From my experience, most dye jobs require something between 50ml and 150ml of the conditioner-dye-mixture.
When you have prepared all the dyes you plan on using, it’s time to rainbow-ify yourself.
3 … 2 … 1 … Rainbow
So you have bleached your hair (or decided that you don’t need to) and mixed your dye.
For non-permanent dye it is best to start on slightly damp hair that is freshly washed, and free of any products you might usually be putting into it after the shampoo. I usually dye my hair right after rinsing out the bleach, when it’s most porous.
If you want to dye all of your hair the same color, you can just repeat the steps you went through in the bleaching process: First the roots, then everything else. As semi-permanent dye is not permanent, you might need to dye the lengths every time you do your roots. If I’m just touching up the color in the lengths, I will usually dilute the dye a bit more than I would normally for the roots. A general rule is that the more often you dye a certain area in the same color, the more permanent it gets. I notice that the roots (that have only been dyed once) never take the color as well as the other parts.
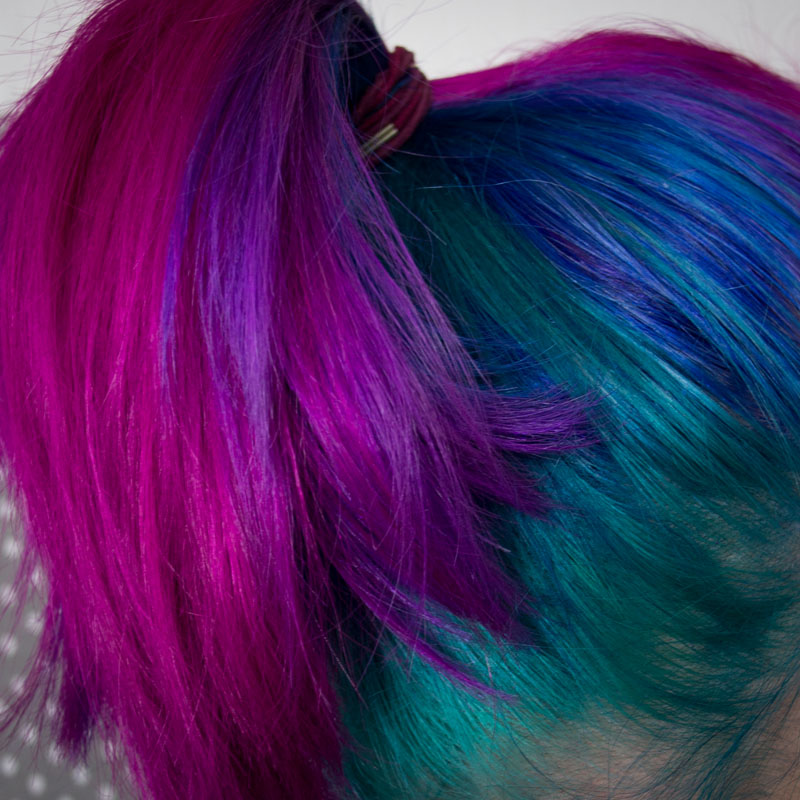
If you want to do a rainbow, you first need to section off your hair, and do the same as above for each section of hair that is supposed to have a different color. You can also do gradients from the roots to the tips by just layering the different colors using a brush or your hands.
Before
And after.
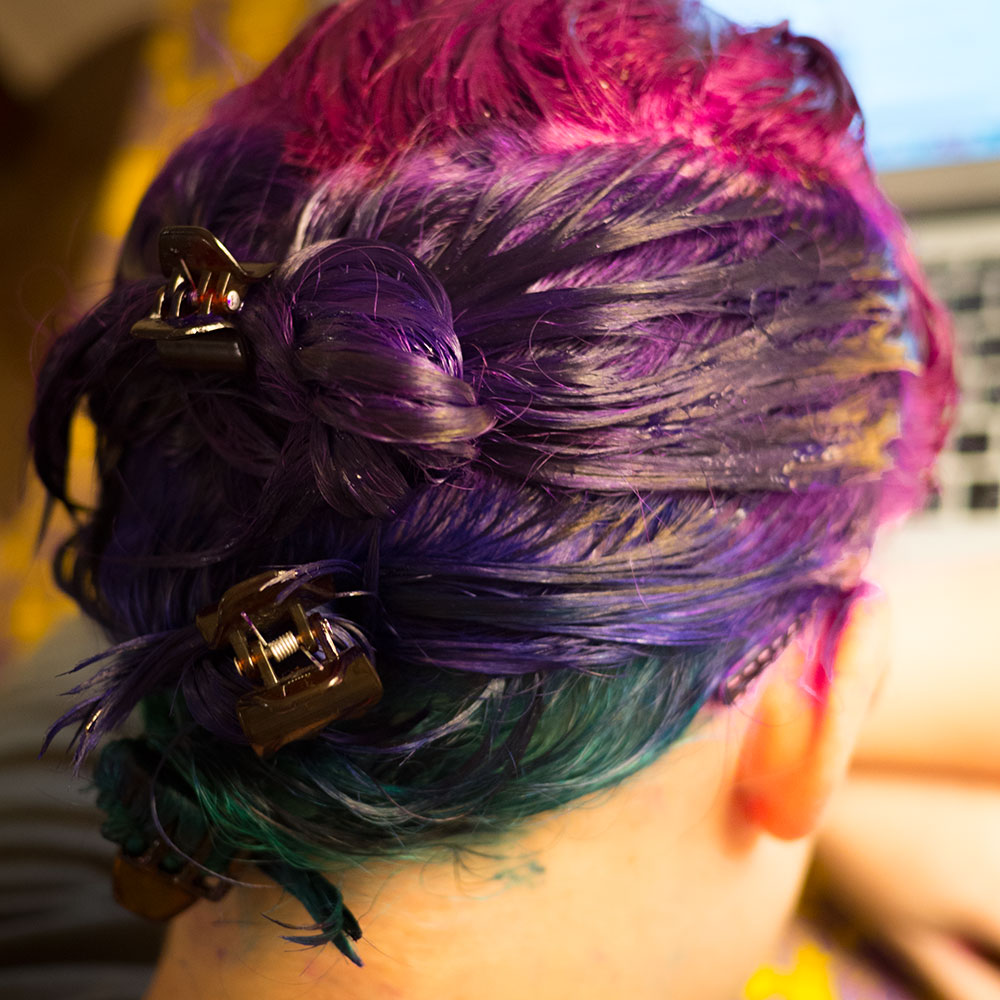
All non-permanent dyes I have used so far instruct the user to leave the dye in for 20-30 minutes. In my experience, this is never enough. Personally I get much better results by leaving in the dye for at least an hour. Just like after bleaching, I just put on my trusty shower cap and continue doing whatever I was doing for a bit, usually for two to four hours.