
First: Rainbow hair dyes only come as semi-permanent products. This is why I am talking almost exclusively about them in this series. It also means that bleaching and dyeing are two separate steps, and the dye will fade out eventually – much in the same way bright cotton fabrics fade after a few washes.

This is our current stash of hair dye ;)
Stains and Spilling: Semi-permanent dye usually comes out of everything. They remain on hair and fingernails, but otherwise you can easily get rid of stains. At least for all the brands I’ve been using you do not need to worry about staining your clothing at all as everything will come out in the next wash without a problem. They do permanently discolor wood and some porous plastics though.
Brands of hair dye
I have used a bunch of different brands, and I have a clear favorite. But as people keep asking, I will add my two cents on the I have tried so far:
Alfaparf Revolution
(used to be Jean’s Color before the re-branding)
That’s what I usually put into my hair
What: This is by far my favorite hair dye. When I learned that they discontinued it a little while ago I almost cried (Yes. Erm. I know I usually don’t have any feelings, but I love my paints and dyes …) It turns out they were only relaunching the product, so it is available under this new name now. I’m not in love with the fact that it now comes in tiny tubes rather than the big bottles. It also got much more expensive, but they do have blue and green again (the blues and greens had been discontinued years ago). It comes in a relatively small range of colors that you can mix yourself: I guess this has to do with the fact they are targeted more towards professional users.
Use: This product smells amazing, is easy to apply, has a really nice consistency and lasts the longest.
The green behaves really weirdly though. You cannot get green hair just by using the green dye and I haven’t fully grasped the idea behind that specific color yet. If you want to have green hair, you have to mix blue and yellow. The actual green dye seems to exist solely for toning down other colors. In any case, they have a mixing chart available online and I highly suggest looking at it before your shopping trip – your knowledge about theory of colors does not really apply to this range as the green will simply never turn out to be a proper green.
Special Effects
What: This brand comes in a lot of colors, and they have neon glow-in-the-dark shades. I think this is the brand with the best colors and it is vegan, which is awesome. They also are from the US, almost impossible to buy in Europe. Special Effects is what I use when I want my hair to glow under black light.
Use: The consistency is not as good as my favorite, especially on long hair. But I think it is okay and on short hair it’s perfect. However, it lasts quite a long time and generally works well.
Manic Panic
What: It comes in a wide range of colors, even some shades that glow under black light. This one is also vegan.
Use: It is quite alright, but I don’t like the consistency as much as I like the alfaparf product and it also doesn’t smell as good. It lasts for a long time and the cover is good.
Directions
What: Lots of colors, readily available almost everywhere.
Use: Nope. I know it’s widely available, but it is the worst product I have tried so far. It does not last at all and I find it horrible to use. Just don’t use it. Seriously. If you’re at the hairdresser’s to get rainbow hair, and this is what they want to put on your head – run. Seriously. People who know what they are doing would use proper dye, and this product does not qualify as such. But that is only my personal opinion (as a person with fine blonde hair) based on a lot of bad experiences. I have been told recently that there are other opinions on this product as well:
This brand seems to work reasonably well on coarse hair such as beards for some people. Hair structure does have a huge impact on how one’s hair behaves and can be treated, so maybe if you have coarse enough hair it might be worth trying. I have met 2 people so far who actually liked to use the brand on their beard and who were really satisfied with the product. This is only a very small portion of my sample, but apparently they do exist.
Others
There are plenty other brands out there, I guess it never hurts to try and see if you like them. Availability is probably the number one constraint here. I would love to try sparks at some point, but I haven’t been to North America since they started doing their thing (Just saying. If you happen to be in Canada or the US and feel like sending me gifts … :P)
Supplies
When your hair is bleached and you have decided on the dye you want to use, you’re almost ready to rainbow your hair. A short list of other things you will need before starting:
- Hair dye brush; you can get them everywhere you can buy bleach, and they are available in different sizes,
- Flat brushes: different sizes come in handy if you want to do very detailed patterns, beards or eyebrows. The kind children use to paint is perfect (just be careful to not use brushes with metal parts for bleach),
- Something to hold your dye: I find smaller jam jars work best, as it’s easy to keep leftovers for the next time,
- Conditioner to add to the dye. I use a repair conditioner (Grape-Avocado) from Alverde. It’s a natural cosmetics brand sold at DM, and I find that those work much better to dilute hair dye. Not having silicones and the like in the dye seems to make it work much better. Generally, I would not use any product containing silicones during the whole process. Everything I put in my hair in between adding the bleach and rinsing out the dye is silicone free, because in my personal experience that makes a huge difference.
Mixing colors
The instructions almost always tell you to (but I never use) pure dye. Of course you can use the dye just like it comes out of the package – then you can skip this step. If you want to mix a custom color, or add conditioner like I usually do (it is the cheapest way to create pastel colors) now is the time for that:
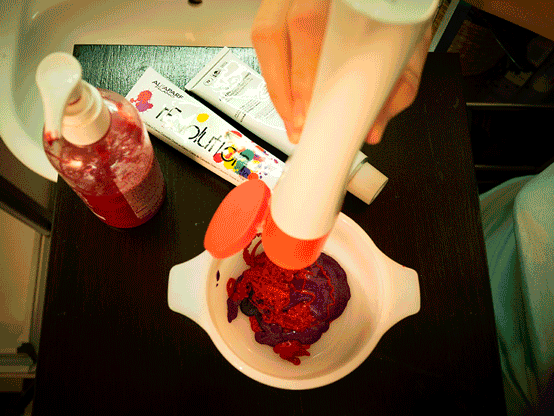
How I prepare my dye
Take your bowl or jam jars if you are doing more colors, this time we do not need a scale. Personally, I like using my trusty vintage soup bowl for the main color, and small jars for the colors I need less of.
Then add your dye – if you need to mix dyes, now is the time to get the color you want. Again, be careful here. My favorite dye brand, for instance does not work like “regular” paint. (One example are Magenta and Pure Green that, if mixed, make purple. If you ever had to mix paints in school art classes you probably know that magenta and green combined usually make various muddy non-colors, but certainly not purple) So if the brand you are using provides mixing charts, have a look at them.
When you have the color you want, you can add a bit of conditioner. This makes the dye easier to use and dilutes it. The basic idea is that more conditioner makes the dye less intensive, and different brands are pigmented differently.
I want to give you a short overview of how I mix Special Effects and Alfaparf Revolution brand dyes (as those are what I use most of the time). I mostly eyeball everything now, so I don’t have exact measurements.

- If I do a pastel cotton-candy-pink, I will often only use 1-2 teaspoons of dye per 50ml of conditioner. Be aware that you basically have to start with white hair if you want to achieve light pastel shades,
- If I’m touching up my hair, I usually use 1-2 parts conditioner to 1 part dye.
- For bright, but not particularly dark colors, I mix one half dye and one half conditioner,
- If I want to get dark blue or dark purple, I mix 2 parts dye with 1 part conditioner,
- When I dye really thick/coarse hair that soaks up a lot of product, using only very small amounts of conditioner seems to work better as you need all the pigments you can get.

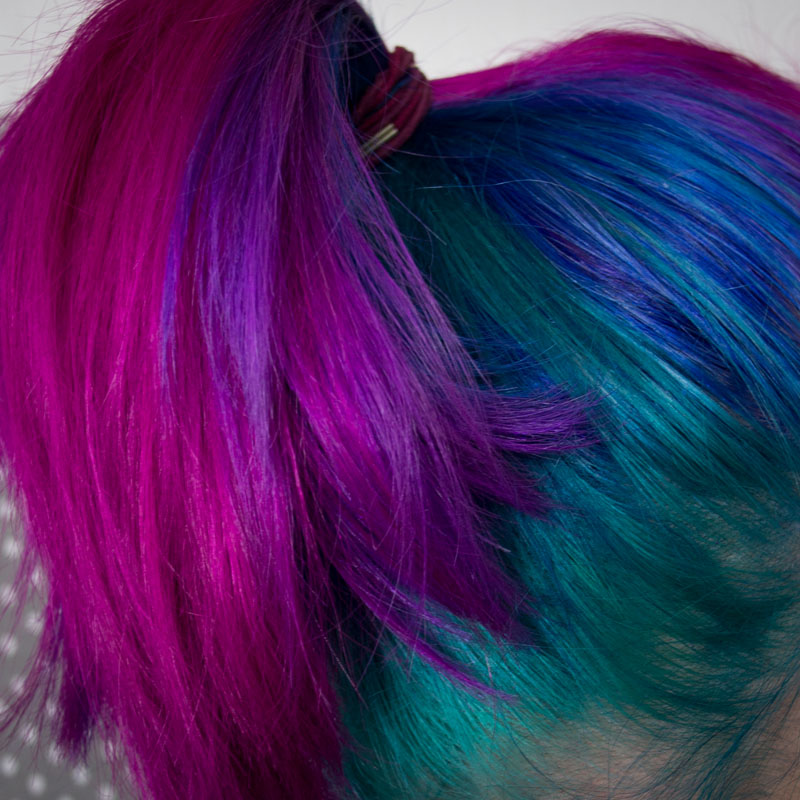
This is how mixed colors look for me now.
I would love to give you exact measurements, but I don’t think it’s a good idea to do so. Depending on the texture, the amount of dye a person’s hair needs to change color properly varies wildly. The amount of bleach you need usually is a good indicator for the amount of dye you want to prepare. I think the number one tip here is to just write down what and how much of it you’re using until you get a feeling for it. From my experience, most dye jobs require something between 50ml and 150ml of the conditioner-dye-mixture.
When you have prepared all the dyes you plan on using, it’s time to rainbow-ify yourself.
3 … 2 … 1 … Rainbow
So you have bleached your hair (or decided that you don’t need to) and mixed your dye.
For non-permanent dye it is best to start on slightly damp hair that is freshly washed, and free of any products you might usually be putting into it after the shampoo. I usually dye my hair right after rinsing out the bleach, when it’s most porous.
If you want to dye all of your hair the same color, you can just repeat the steps you went through in the bleaching process: First the roots, then everything else. As semi-permanent dye is not permanent, you might need to dye the lengths every time you do your roots. If I’m just touching up the color in the lengths, I will usually dilute the dye a bit more than I would normally for the roots. A general rule is that the more often you dye a certain area in the same color, the more permanent it gets. I notice that the roots (that have only been dyed once) never take the color as well as the other parts.
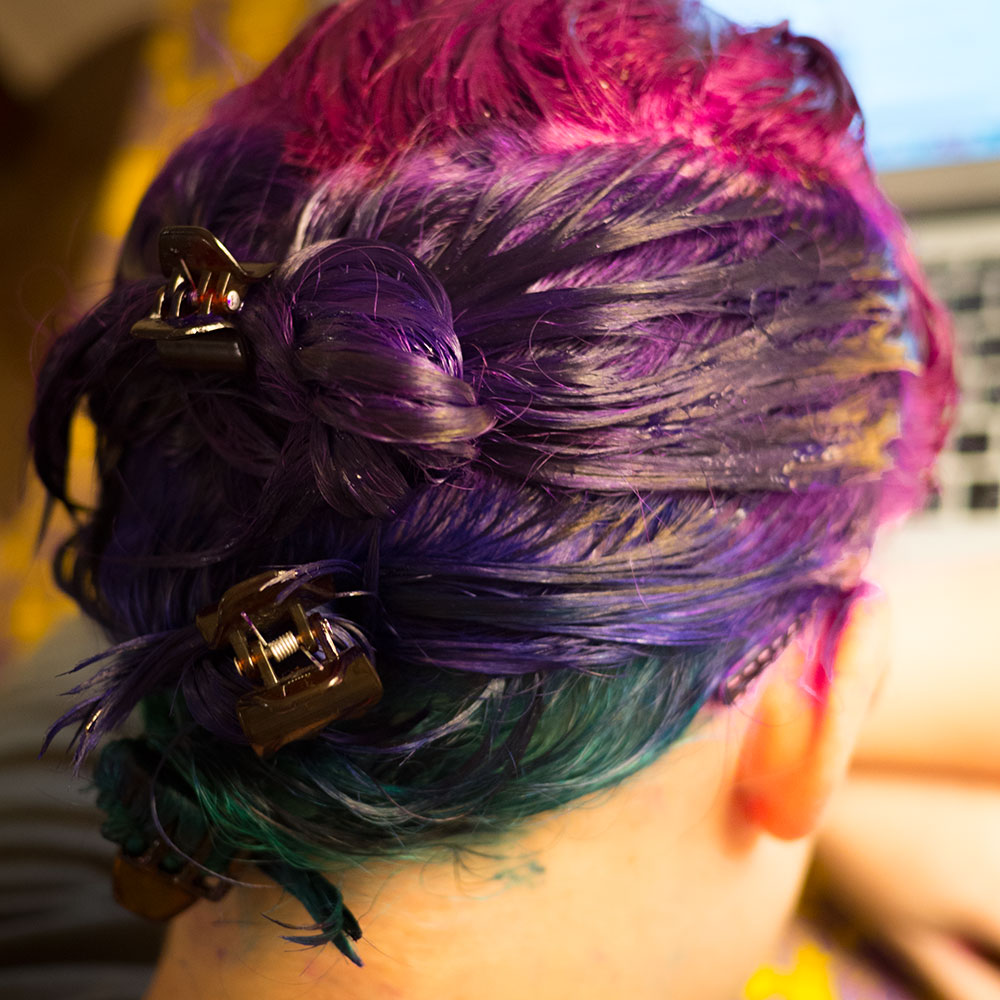
If you want to do a rainbow, you first need to section off your hair, and do the same as above for each section of hair that is supposed to have a different color. You can also do gradients from the roots to the tips by just layering the different colors using a brush or your hands.
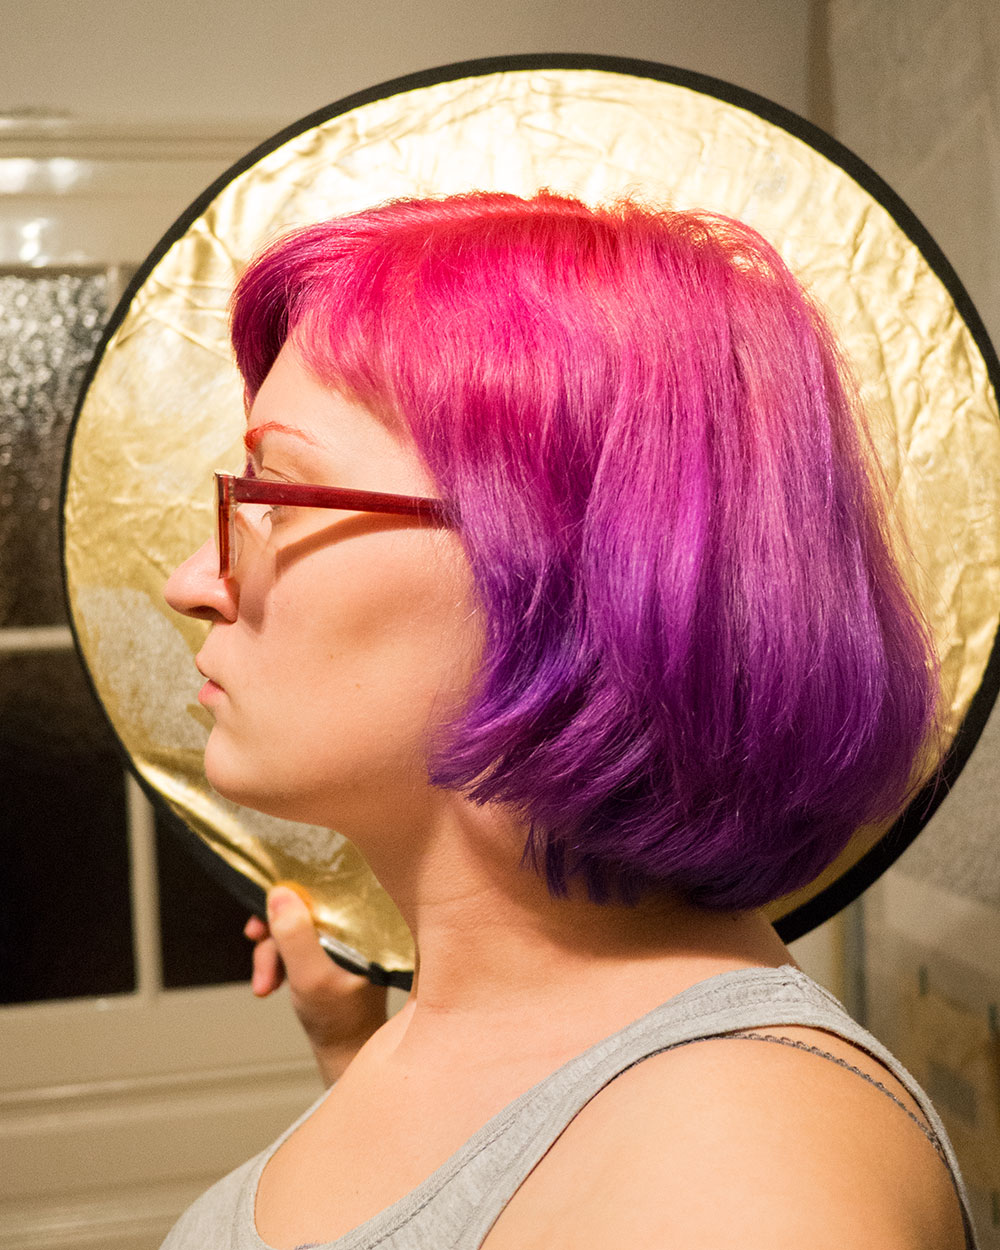
Before
And after.
All non-permanent dyes I have used so far instruct the user to leave the dye in for 20-30 minutes. In my experience, this is never enough. Personally I get much better results by leaving in the dye for at least an hour. Just like after bleaching, I just put on my trusty shower cap and continue doing whatever I was doing for a bit, usually for two to four hours.